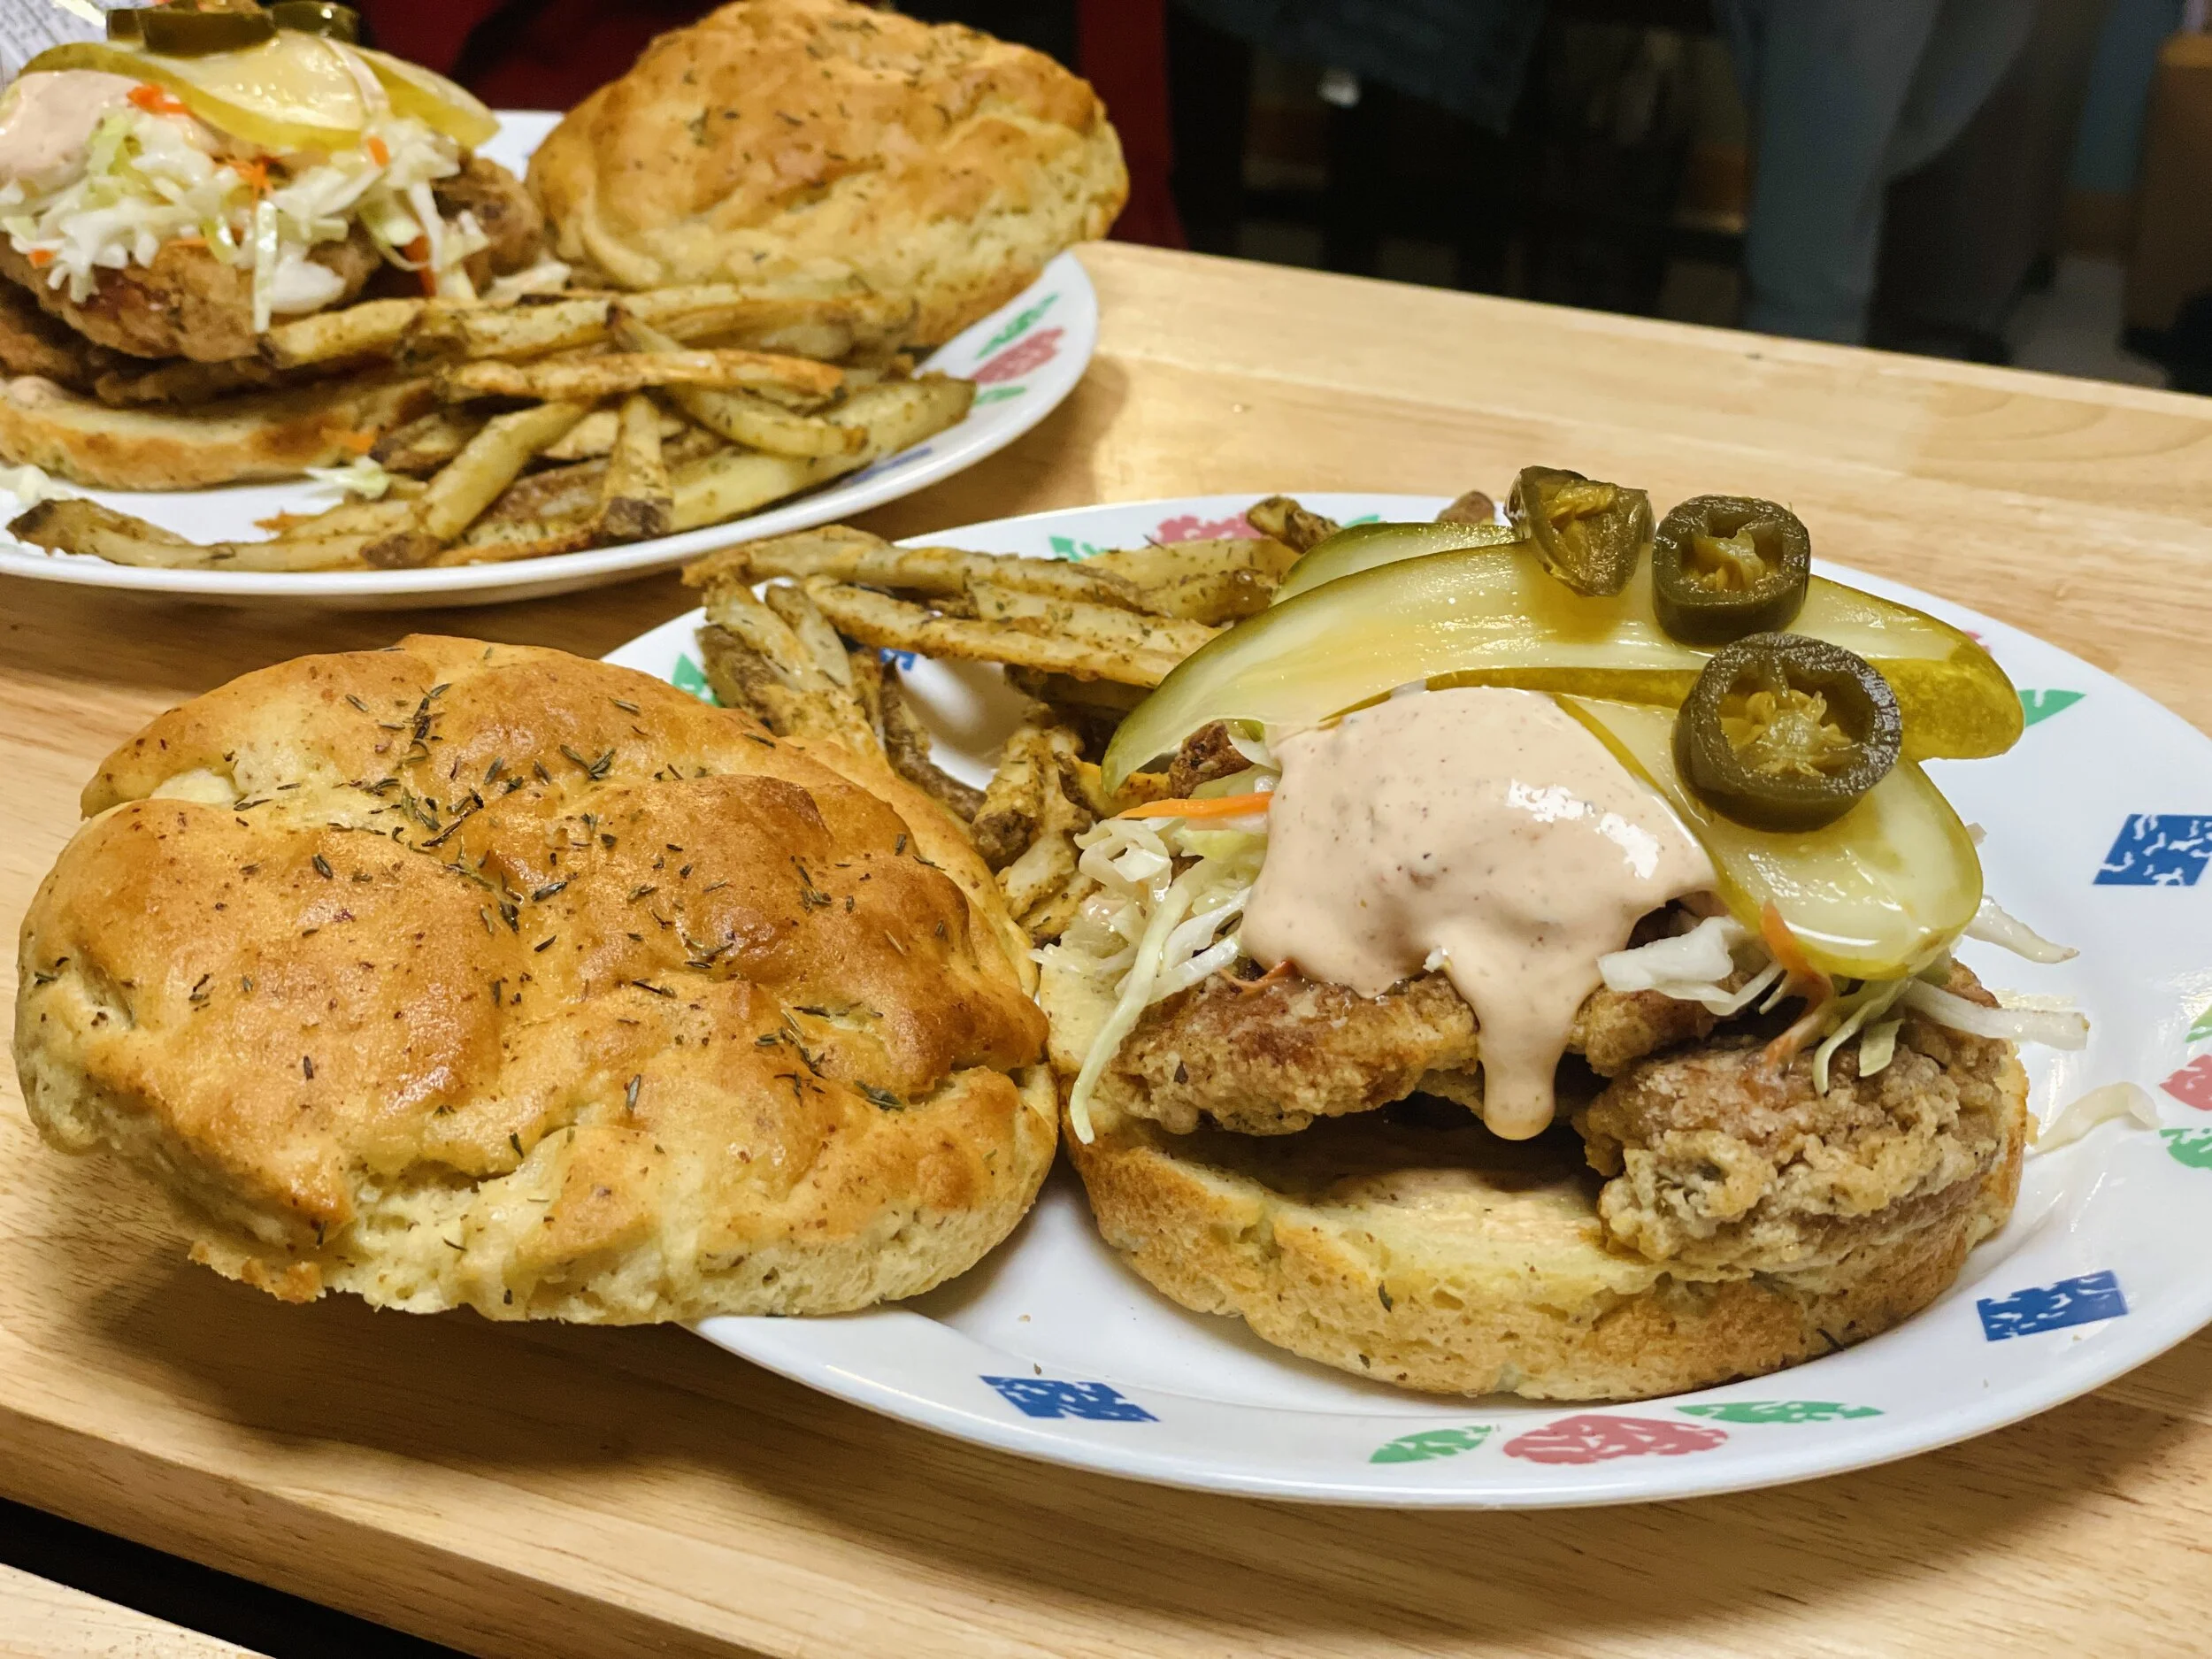
Prep Time: 45 minutes
Wait Time: 2hrs
Cook Time: 45 minutes
Yields: 3 large sandwiches or 4-5 small sandwiches
Ingredients For the Buns:
1-1/4 cup warm water
1 package Active Dry Yeast
3 tbsp granulated sugar
About 3 cups Gluten Free Flour Blend (Your favorite store-bought blend or make your own)
2 Eggs (room-temperature)
1 tsp Kosher salt
1/3 cup oil (I use olive but any cooking oil works)
1 tbsp extra oil for coating pan
herbs and seasoning for top, I used thyme and garlic
Butter for topping
Ingredients For the Chicken:
1 cup potato starch
1 tsp black pepper
1 tsp thyme
1 tsp Kosher salt
1/2 tsp Ground Mustard Seed
2 tsp granulated chicken stock (make sure it’s gluten free! Herb-Ox has a great one)
1 tsp basil
1 tsp paprika
1 tsp cayenne pepper
3 tsp oregano
1 tsp allspice
2 tsp cumin
2 large chicken breasts or 4 chicken tenderloins
1 egg
A pan for frying and oil to fill pan up to 1”
Ingredients For the Toppings:
1 cup sliced cabbage or cole slaw
2 tbsp Distilled Vinegar
1 tbsp olive oil
Salt and Pepper
Pickles
Mayonnaise, Olive Oil, and your favorite hot sauce
Pickled Jalapenos
Instructions

1. Start by preparing the dough for the buns. In a large mixing bowl, add 1-1/4 cup water. The water must be between 110° F/ 43° C and 115° F / 46°C degrees. If it is too cold, the dry yeast won’t activate and if it is too hot the water will kill the yeast. Add in one package of active dry yeast, or 2-1/4 tsp. Stir until dissolved and let sit for 10 minutes or until frothy foam forms on the surface.
2. Prepare your gluten free flour blend. If you are new to gluten free cooking, all of these different types of flours can be overwhelming. I’ve found that Nuts.com has a great selection of gluten free flours that can be ordered by the pound.
Prepare your flour blend by adding all ingredients to a bowl and using a fork to blend it all together. You can also use a whisk or a sifter.
My gluten free flour blend consists of:
1-1/2 cup Rice Flour
1/2 cup Tapioca Flour
1/2 cup Millet flour
1/2 cup Sorghum flour
1/2 cup Potato Starch
1/8 cup Flax seed Meal
3 tsp Xanthan Gum
If using a store bought blend, just make sure that it has Xanthan gum included in it. Xanthan gum is a common additive to foods that acts similarly to gluten. When added to gluten free recipes, it helps in the binding process that gluten usually does.
Flours function in different ways – some are very moisture rich and others act as sponges so they absorb a lot of liquid. In a gluten free product, there is no gluten to hold it together so it is vital to get a good blend of flours to add structure and binding. A good blend has at least 2 different flours and a starch. I add in flax seed meal for extra protein, nutty flavor, and texture. You can leave it out completely or substitute it for another powdered protein source such as pea flour, ground chia seeds, or pure soybean protein.
Add 1 tsp of kosher salt to your flour mixture and blend with fork or whisk fully.
Any cooking salt will do (sea salt, table salt, rock salt) but I use Kosher salt due to my boyfriend being allergic to the iodine in table salt. He claims everyone should use kosher salt anyway because it tastes better but I am not a salt expert.


3. Using a stand mixer with the dough hook attachment, place your now frothy water and yeast mixture into your mixing bowl. Add in 3 tbsp of granulated sugar. (Some people like to cut back on the sugar in the recipe. This is okay, just make sure there is still some sugar in there as it is the food for your yeast. Yeast needs sugar to grow.) Turn the mixer on low (setting 1 or on stir) and gradually add in your flour mixture.
4. Add in 1/3 cup oil and 2 eggs. Make sure the eggs are room temperature. Turn your mixer settings on high and let it mix for at least 4 minutes. Dough will form a solid and will “pull” off the edges of the bowl with the hook when ready. Warning: gluten free bread dough is much wetter than traditional wheat based dough. You may be tempted to add in extra flour, but don’t. This bread does not need to be kneaded so don’t worry about it being too wet.
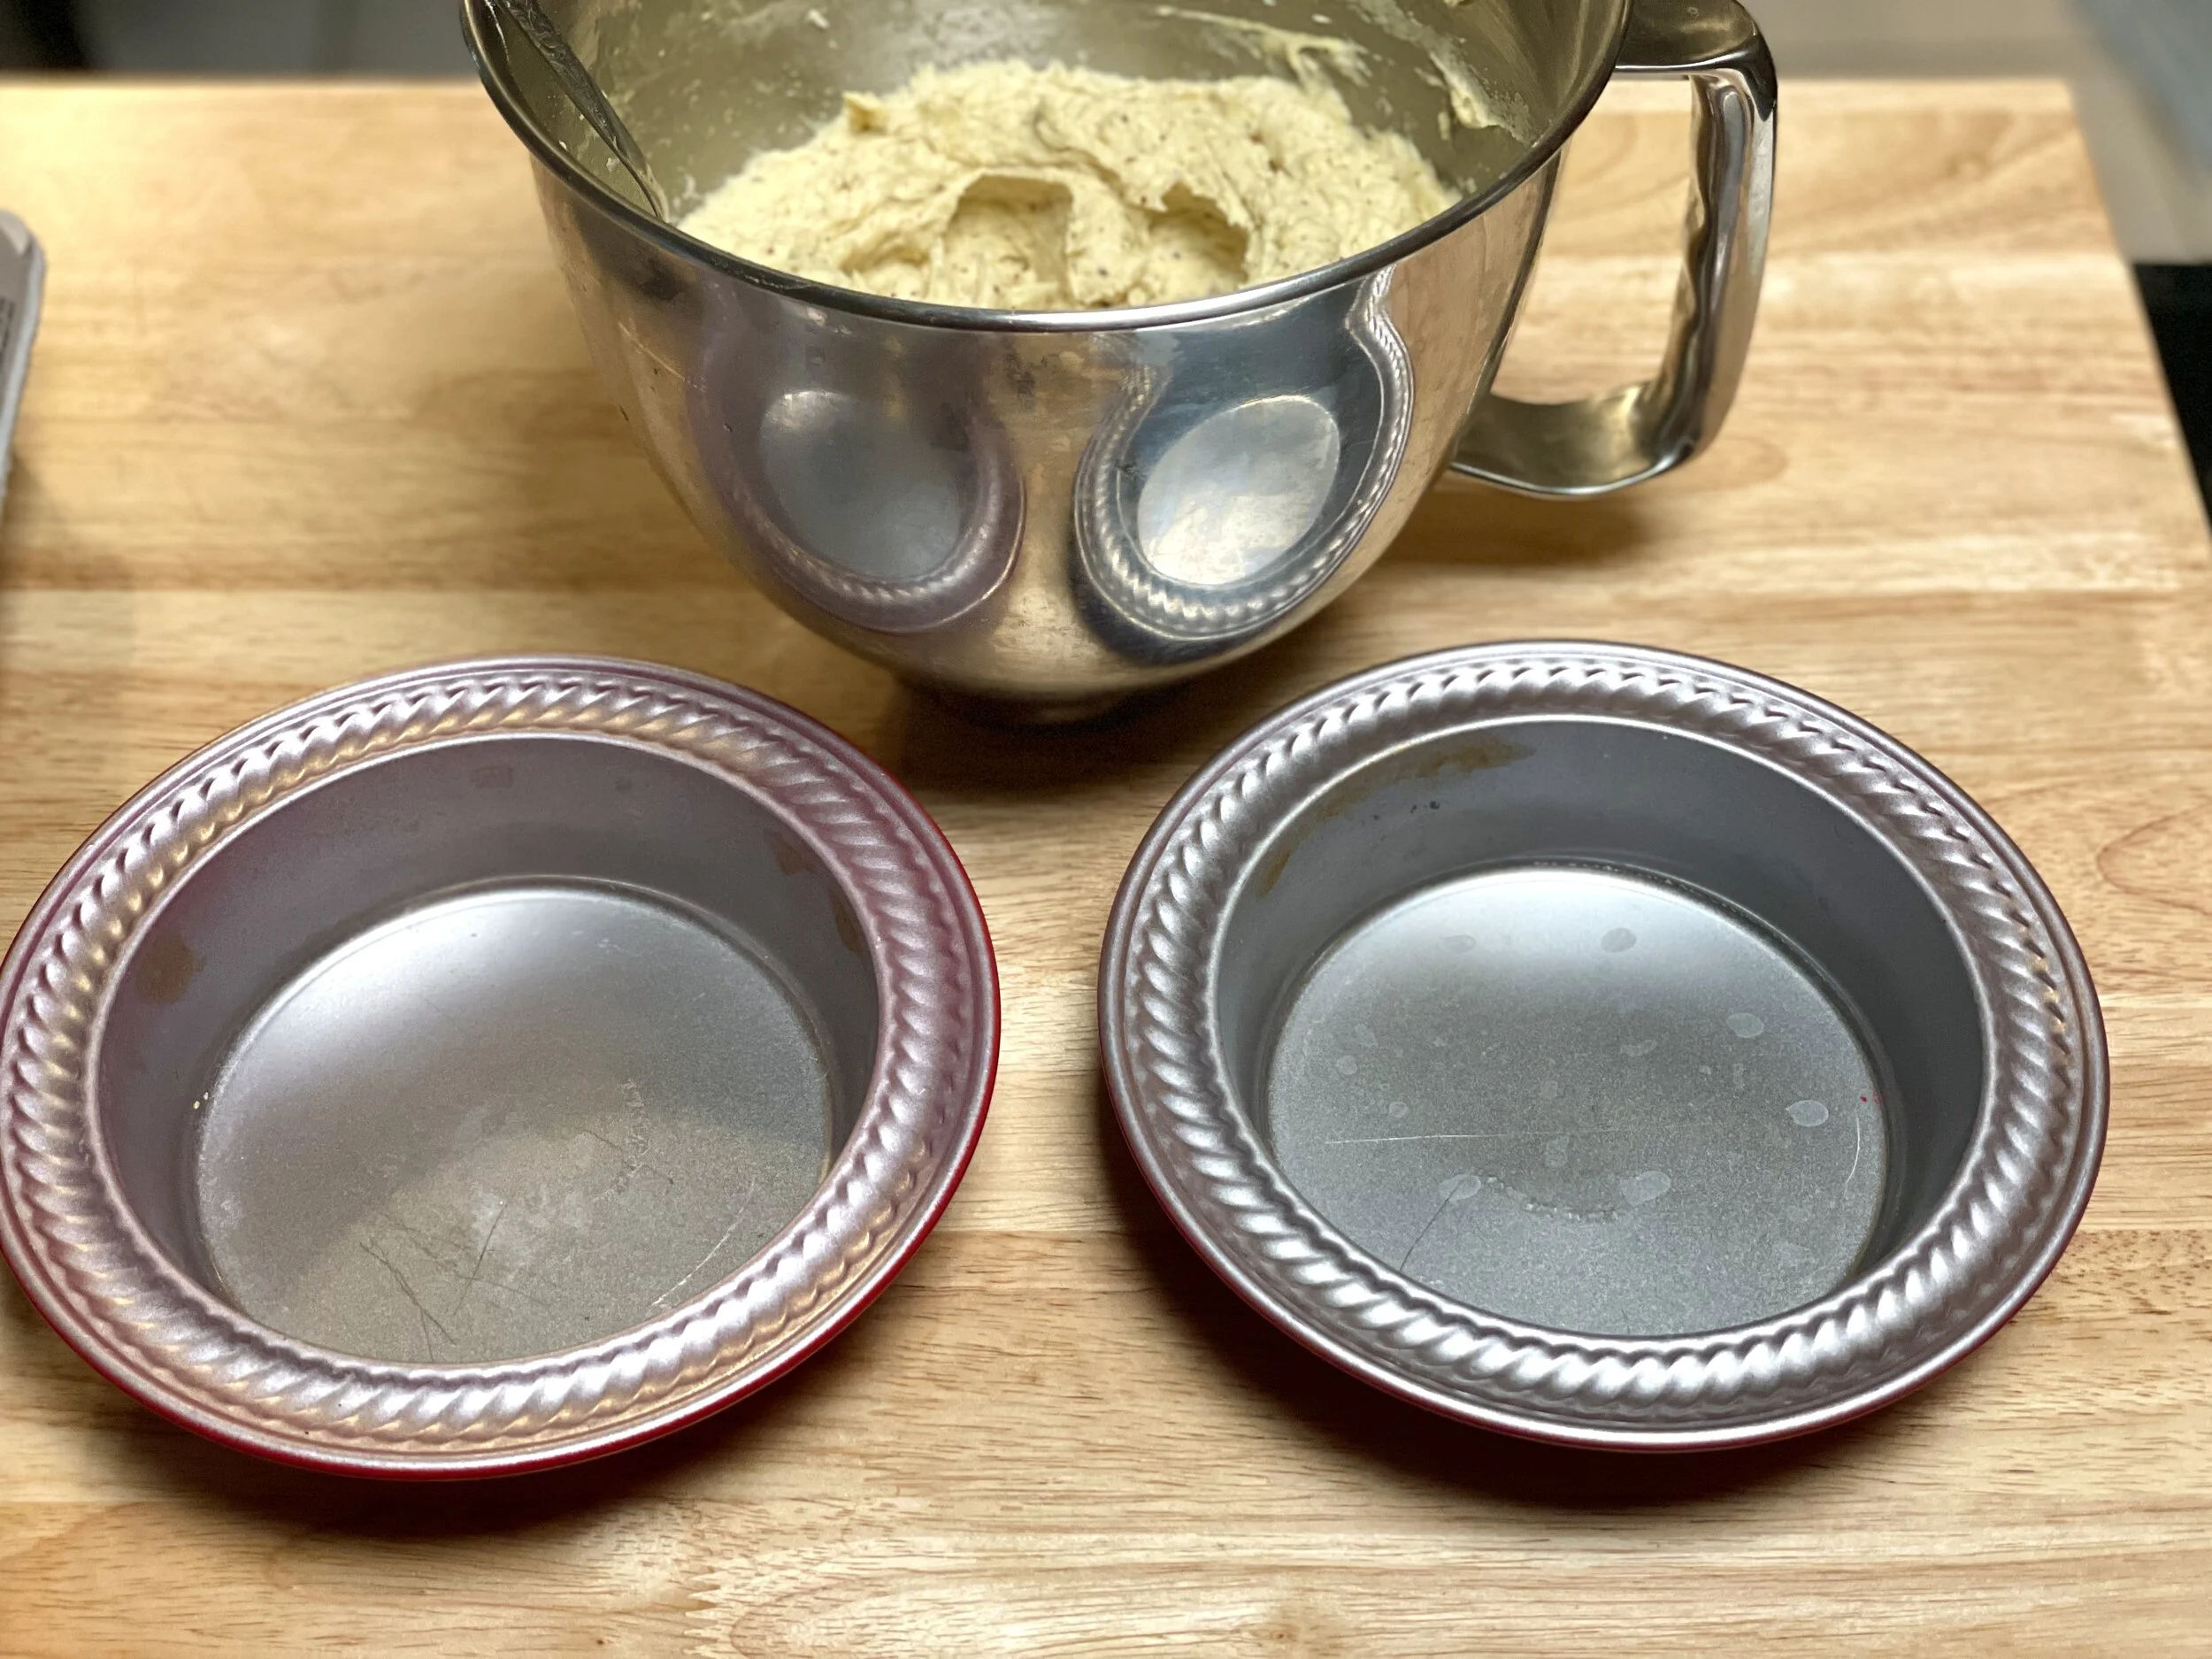
5. Prepare your pans. I used 4” round pie tins for my “bread pan” but any pan that is your preferred size for a bun will work. Note: Gluten free dough is much wetter than traditional wheat dough. It will not hold its shape on a flat pan. You must get a deep pan that can hold the shape of the dough for you such as large cupcake pans or small cake pans. Add in a drizzle of oil and spread or spray pan with non-stick cooking spray.

6. Split your dough into 3 equal parts. (Or smaller if making smaller sandwiches). Place the dough into your tins or pans and press down to spread evenly on bottom of tin or pan. Tip: Get your hands a little wet. Not sopping, but enough so they aren’t dripping. After your hands are wet, then press down your dough. The extra layer of water on your dough is okay and the dough won’t stick to your hands.
Once your dough is in the pans, place in a warm, humid area to rise for 2 hours. If using instant dry yeast instead of active dry yeast, cut that time in half. I put my oven at 100° and place a glass of water at the bottom and place my dough inside to rise. This helps during the winter months in the Midwest when it is excessively dry and cold.


7. When your dough is done rising, you can preheat your oven to 425° F and start preparing your chicken breading. Add the potato starch and spices to a bowl and blend thoroughly with a fork. Make sure to smash the bay leaf up into fine pieces. I find crumbling it in-between my fingers works just fine. In a separate bowl, break open your egg and scramble. Add a splash of water and fluff completely.

Chicken tenderloins butterflied.
8. Rinse your chicken and pat dry with a paper towel. Butterfly your chicken. If using tenderloins, I cut in half to make it thinner once. If using breasts, I can sometimes get 4 pieces of thinly sliced chicken depending on the size. You want your chicken to be about half an inch thick. I used a meat hammer to help flatten a bit more.

9. When the oven is done preheating, season the tops of your dough with your desired spices and place one square pad of cut butter on top. The butter melts down on the dough and makes the tops crispy and delicious. Cook your bread for 20 minutes or until golden brown on top. Use the toothpick test to make sure the toothpick comes out clean and the center is fully cooked.
10. Prepare your frying pan. Place stove on medium heat and fill with oil up to 1” high. Let the pan and oil get hot before you place chicken in.
11. Season your chicken with salt and pepper. Then dip it into the egg mixture. Hold chicken above egg mixture so excess can drip off. Then put chicken in the breading mixture and coat fully on both sides. Place chicken in the frying pan and cook thoroughly. I do about 10 minutes on each side or until my meat thermometer reads 165° F and the breading is a golden brown. When chicken is done, take out of oil and place onto paper towel or grease screen to dry.

12. Check on your buns! When buns are fully cooked, take out of oven to cool. Allow to sit for 10 minutes before slicing. Slice your buns in half to form the top and bottom. Add additional butter on top when still warm to melt.

13. For the toppings, I use sliced cabbage to make a pickled slaw. Place your cabbage slaw into a bowl and add in distilled vinegar and olive oil. Mix thoroughly. Season with salt and pepper to taste. Set bowl aside and let cabbage mixture rest for 5-10 minutes. For the sauce, I mix together mayonnaise, olive oil, and hot sauce. Season it with salt, pepper, and red pepper flakes to taste.
14. Spread sauce onto both halves of your buns. Place chicken on the bottom bun and top with the slaw mixture. Add pickles, jalapenos, and a sprinkle of hot sauce on top.
15. EAT IT. I paired mine with hand cut french fries, but it also goes well with mashed potatoes.