
Gluten Free Cooking
Why are you finding gluten-free cooking recipes on a design website? Strange, I know. Well, designers gotta eat, too! As a freelance graphic designer who also owns an apparel-printing company, time is my most cherished treasure. I got diagnosed with celiac disease in 2020, which makes finding good food fast pretty much impossible. Celiac is an autoimmune disease that causes your body to attack itself when ingesting gluten. Gluten is in pretty much everything (at least in America), which means no more frozen dinners, no more fast food or restaurants, and no more quick hot meal pick ups at the grocery store deli. Thus, I’ve decided to post all of my recipes on here for anybody who is interested. Not everything on here will be quick or easy but it beats plain steamed veggies.


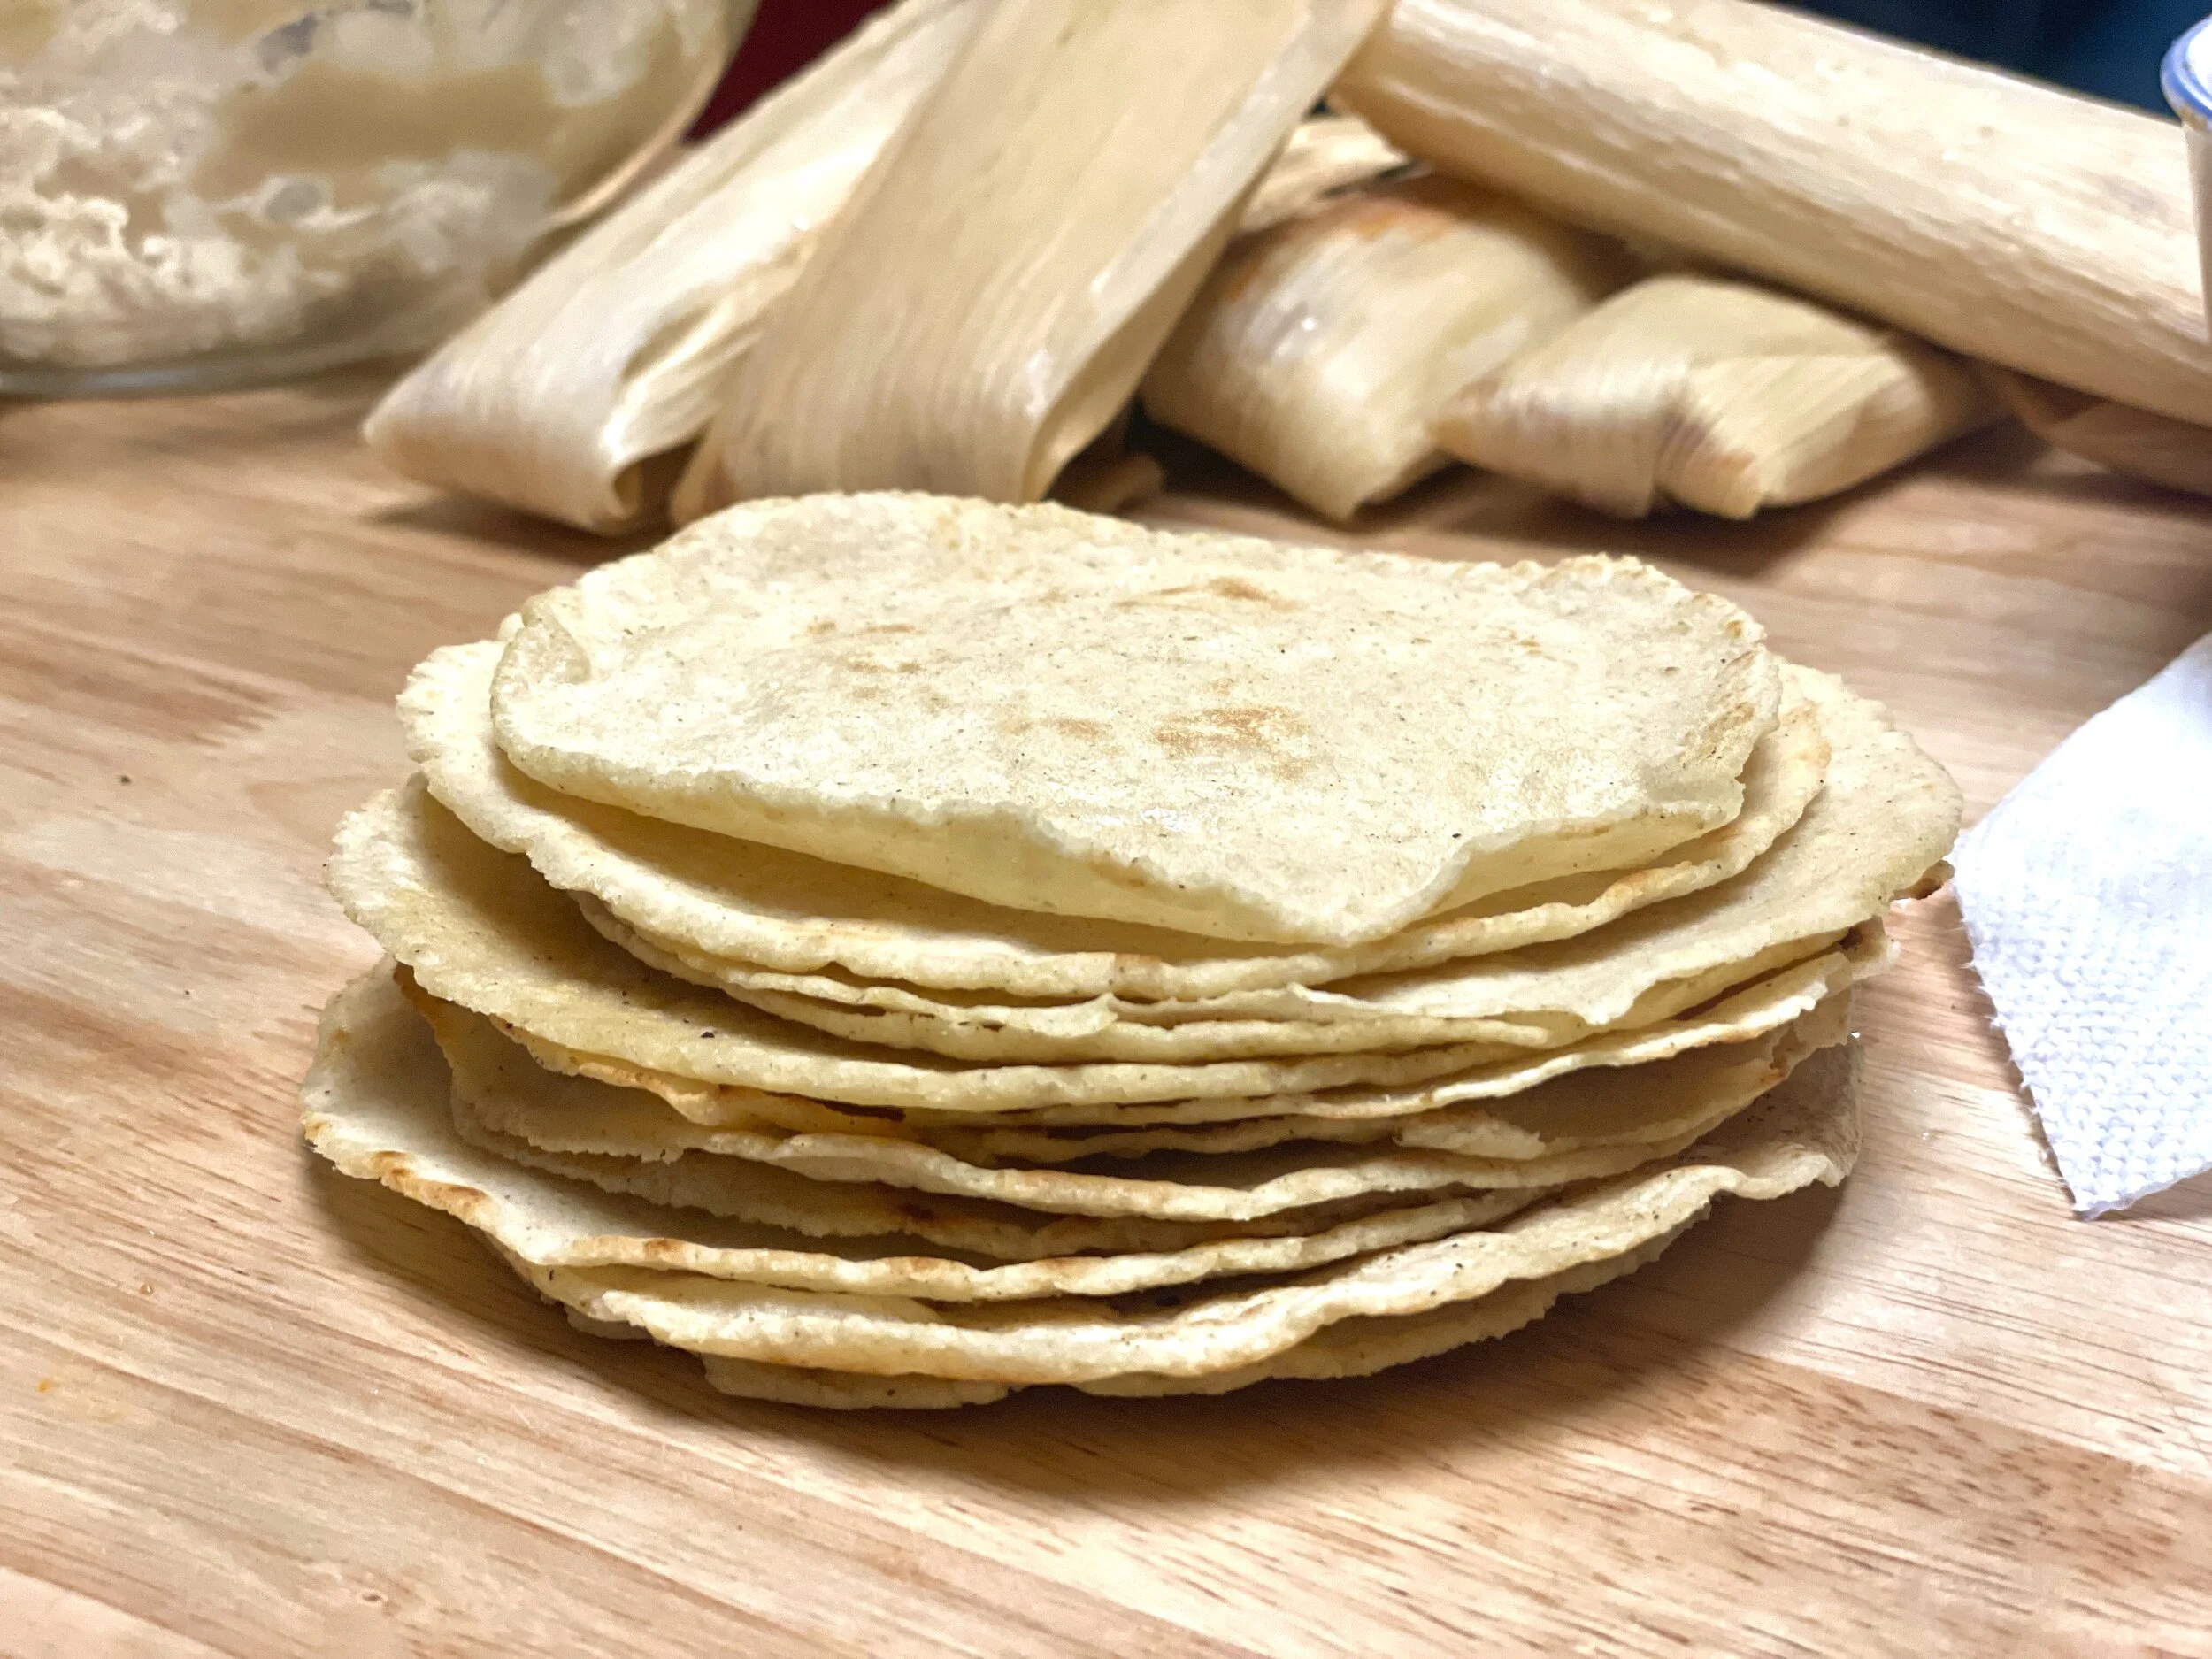


Gluten Free Chili Teriyaki Chicken
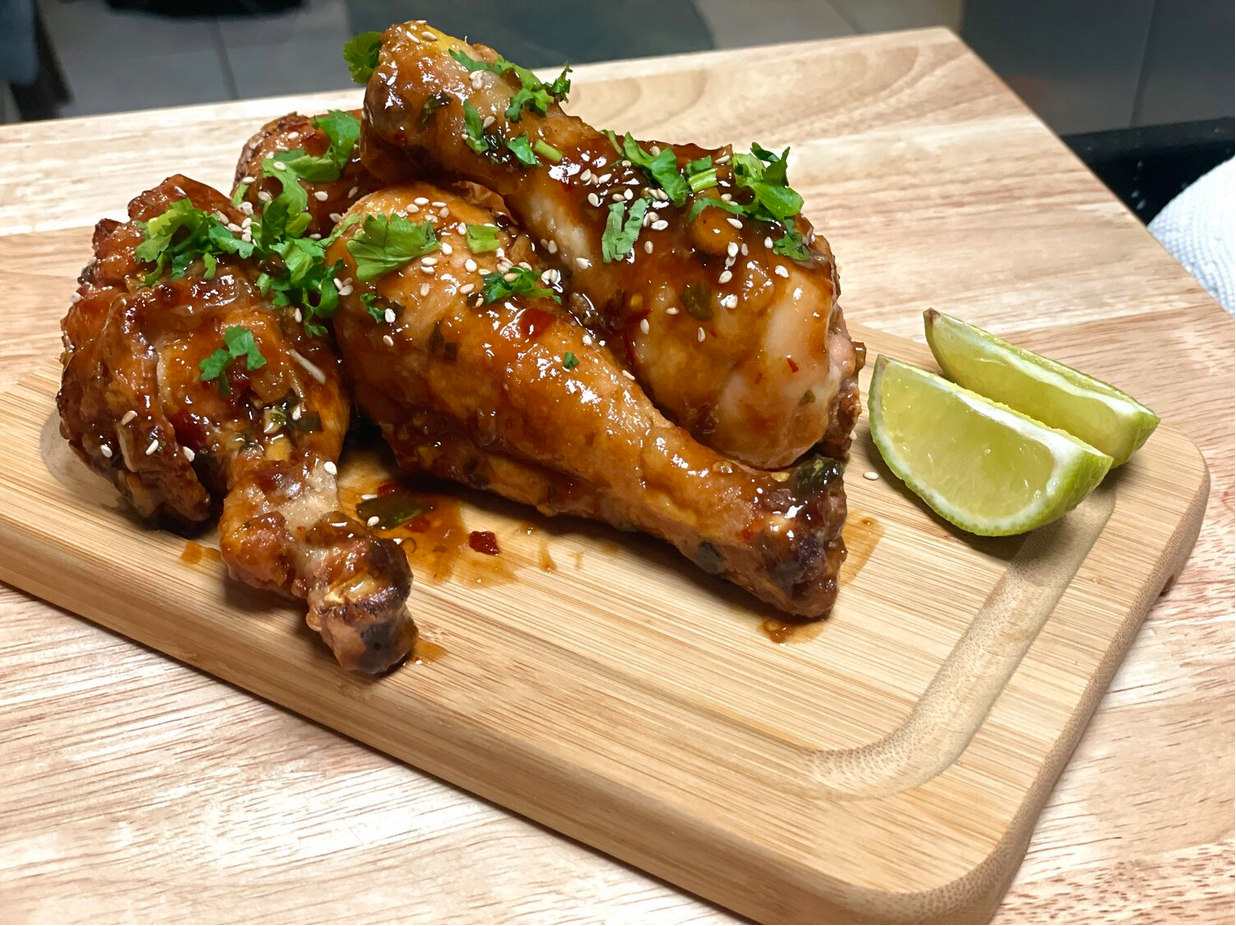
Gluten free extra crispy chicken coated in a chili teriyaki sauce.
I love Asian chicken wings. The issue with being celiac is I can no longer eat at most restaurants let alone Asian foods made in restaurants due to the soy sauce. With a variation of my Obāsan’s teriyaki recipe and swapping out regular wheat flour for rice flour, I’ve figured out how to make extra crispy chili teriyaki chicken wings.
Time to Prep: 30 minutes
Time to Cook: 1 hour
Yield: However many chicken legs or thighs 5lbs ends up being for you. Ended up being 16 chicken legs for me.
Ingredients:
5 lbs of chicken wings or chicken legs
2/3 cup rice flour
2 tsp baking powder (must be powder, not baking soda)
Salt and pepper to taste
1 tbsp paprika
4 whole cloves garlic
A bunch of cilantro
1/4 cup small dried chilies
One whole lime
Fresh ginger root
2 tsp Miso paste
1/3 cup Tamari Soy sauce
2 tbsp Sesame Oil
1 tbsp Rice Vinegar
2 tbsp honey
1-1/2 tbsp Sugar
1-1/2 cup water
1/2 cup corn starch
Optional toppings: sesame seeds, chopped cilantro, or scallions.
Preheat your oven to 450° F.
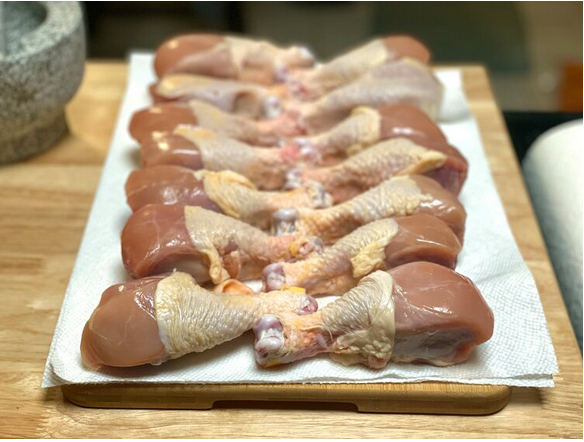
Raw chicken on paper towel to dry.
Step 1. The Chicken. Start by laying your chicken out on a paper towel. Pat to dry, all excess liquid should be taken off. This is an important step and helps make your chicken crispy.
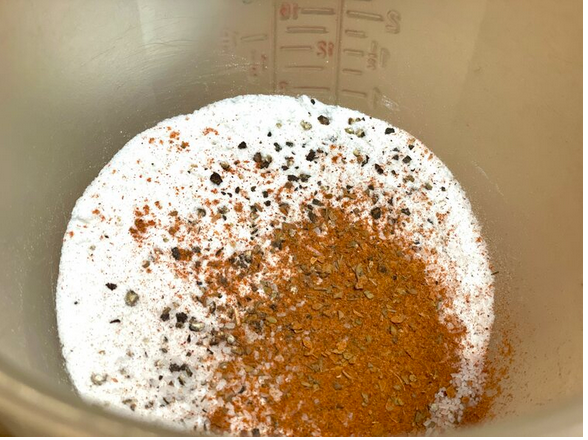
Rice flour, baking powder, and paprika with salt and pepper.
Step 2. In a bowl, add in 2/3 cup rice flour, 2 tsp baking powder, and salt and pepper to your liking. Mix thoroughly with a fork, breaking up any clumps.
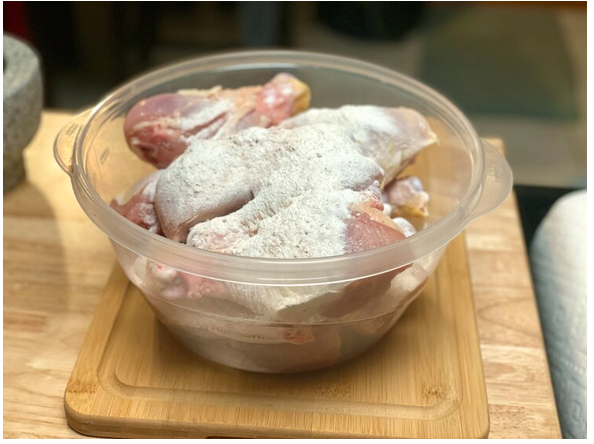
Chicken in mixing bowl, or Tupperware, with flour mixture.
Step 3. Add your chicken to a good coating container. I use an extra large Tupperware container with a no-leak lid. This allows me to shake the ever-living crap out of it to evenly coat without flour going everywhere. Add in your rice flour mixture and shake the heavens out of it.
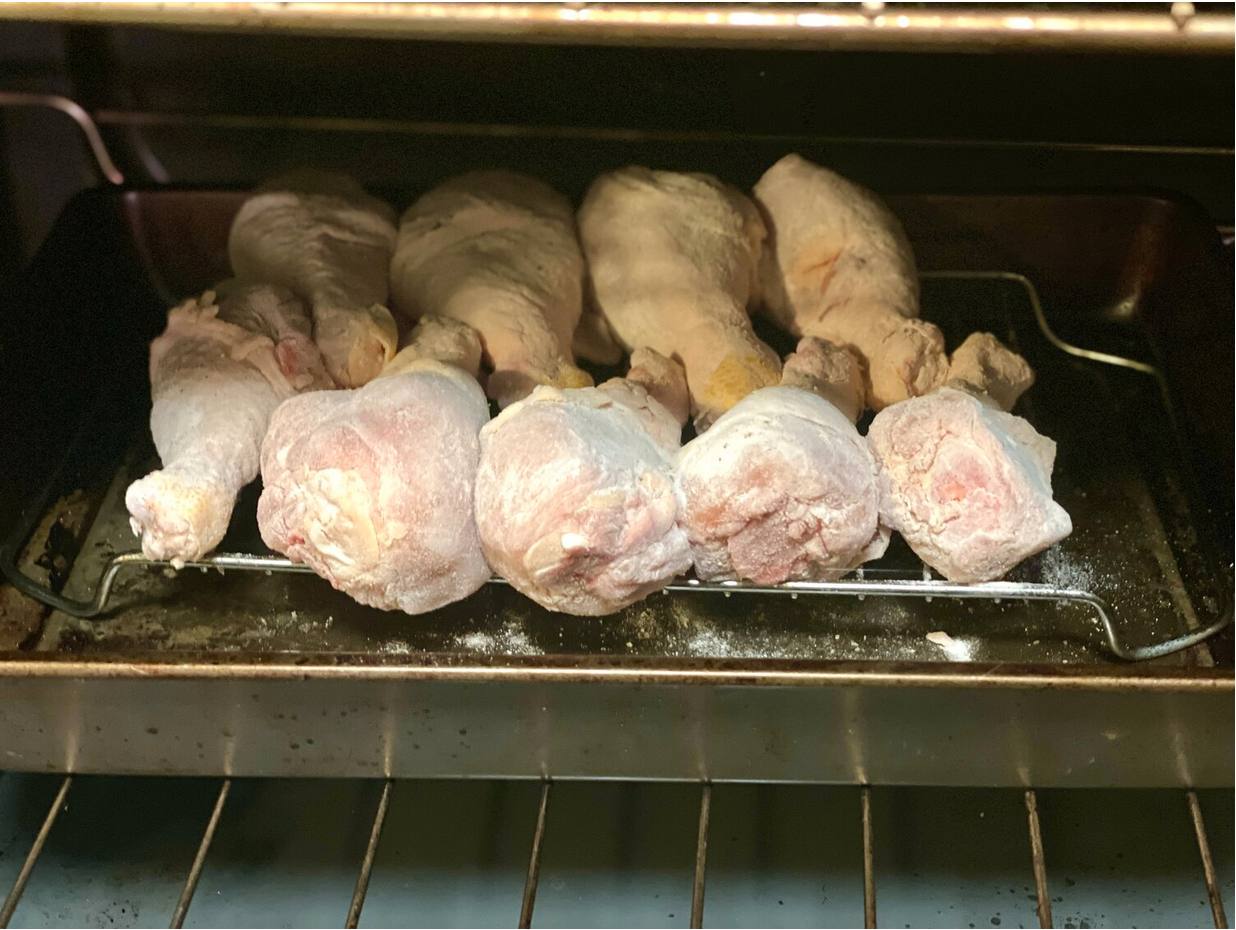
Coated chicken on roasting rack.
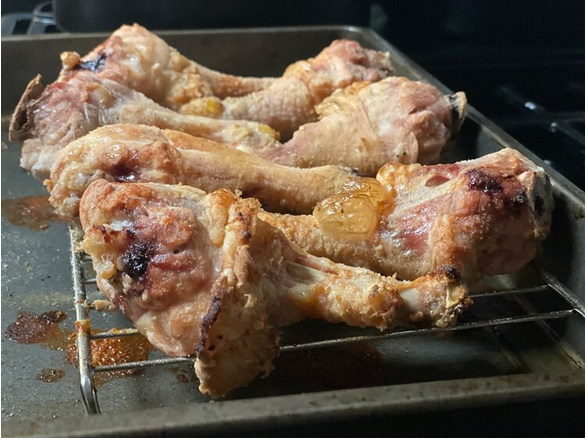
Fully cooked chicken with crispy edges.
Step 4. Once chicken is evenly coated in flour and spices, place a rack inside of a baking pan. spray with nonstick cooking spray or coat lightly with oil and place the chicken on top. It is important not to let the chicken touch the other chicken too much so air can flow between them. I place my chicken next to the other wings on top of a roasting rack. This way the chicken won’t be cooking in its own juices and comes out extra crispy. Place your chicken in the oven.
Cook for 30 minutes and make sure you don’t open the oven door to keep the steam in.
After 30 minutes, flip your chickies over and cook for an additional 20 minutes. The meat thermometer should read at least 165° F for safely cooked chicken.
Step 5. The sauce. I do this step while the chicken is cooking. I bought a brand new granite mortar and pestal set on Amazon so this sauce was my guinea-pig. (Metaphorical, please do not put guinea-pigs in your sauce!) Take your dried chilies and grind them up as fine as you can. Large pieces are still okay as they will become soft when cooked.
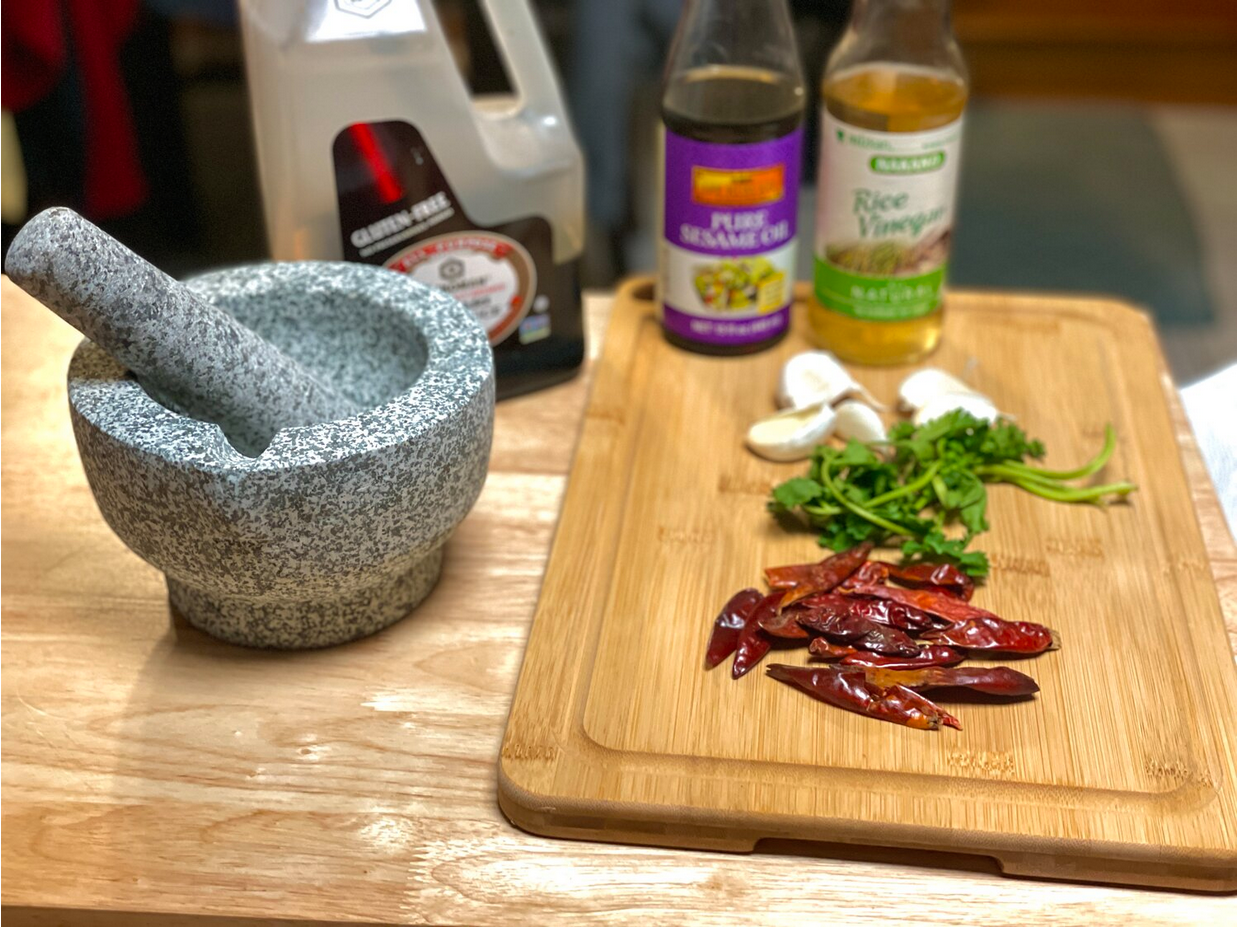
Step 6. Chop up your cilantro and add to the chilies. Peel and smash garlic cloves to activate and then cut into small slices. Add to the chili-cilantro mixture. Add 1 tbsp grated ginger and the zest of half a lime. Smash it all up until it is evenly mixed. Add in 1/3 cup of Tamari soy sauce and stir. Add in 2 tbsp Sesame Oil and 1 tbsp rice vinegar.
Tamari soy sauce is traditionally brewed Japanese soy sauce without the use of wheat, making it gluten free. Hard to find in stores it seems so I buy it in bulk on Amazon.
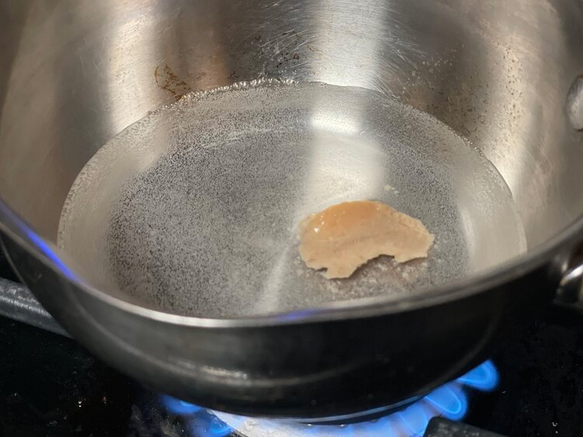
Step 7. Get a small sauce pan and add in 1-1/2 cups of water and 2 tsp of Miso paste. Stir until the miso paste dissolves.
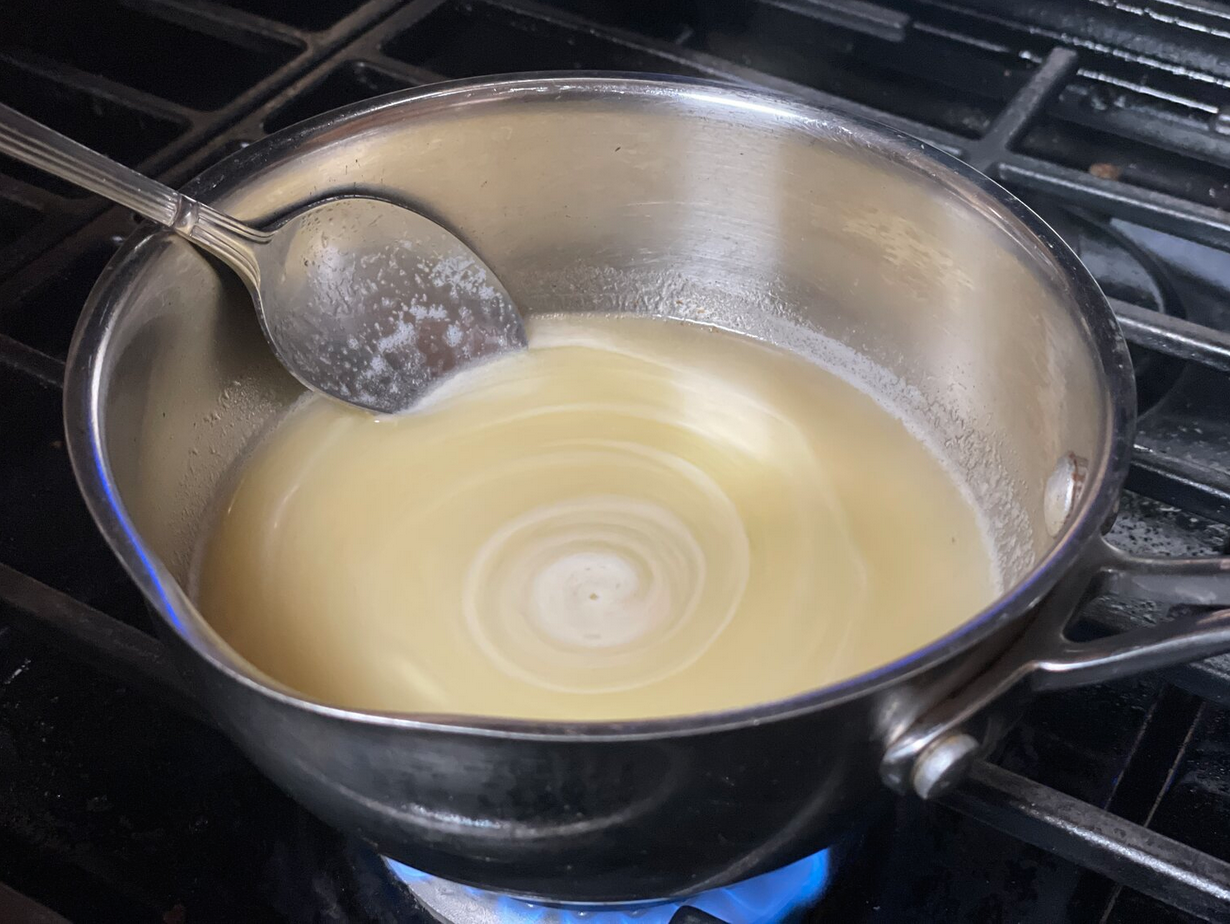
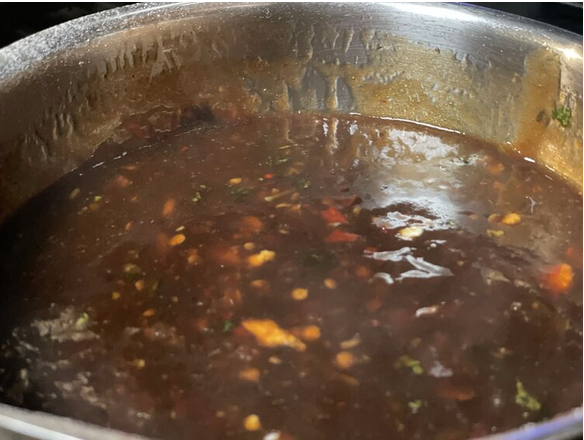
Step 8. Add your chili, cilantro, spice mixture mash into the pot and bring to a light simmer. Add in the 2 tbsp honey and 1-1/2 tbsp sugar and stir until dissolved. Keep stirring while sauce is heating up, about 3-4 minutes.
Step 9. Add 1/2 cup corn starch into a sifter or screen and gradually add into sauce while continuing to stir. The corn starch will thicken up the sauce as it continues to cook. You may have to add more or less corn starch, but you want a nice gel consistency, like barbecue sauce. It’s important to add in your corn starch gradually so it doesn’t have the opportunity to clump up in the sauce.
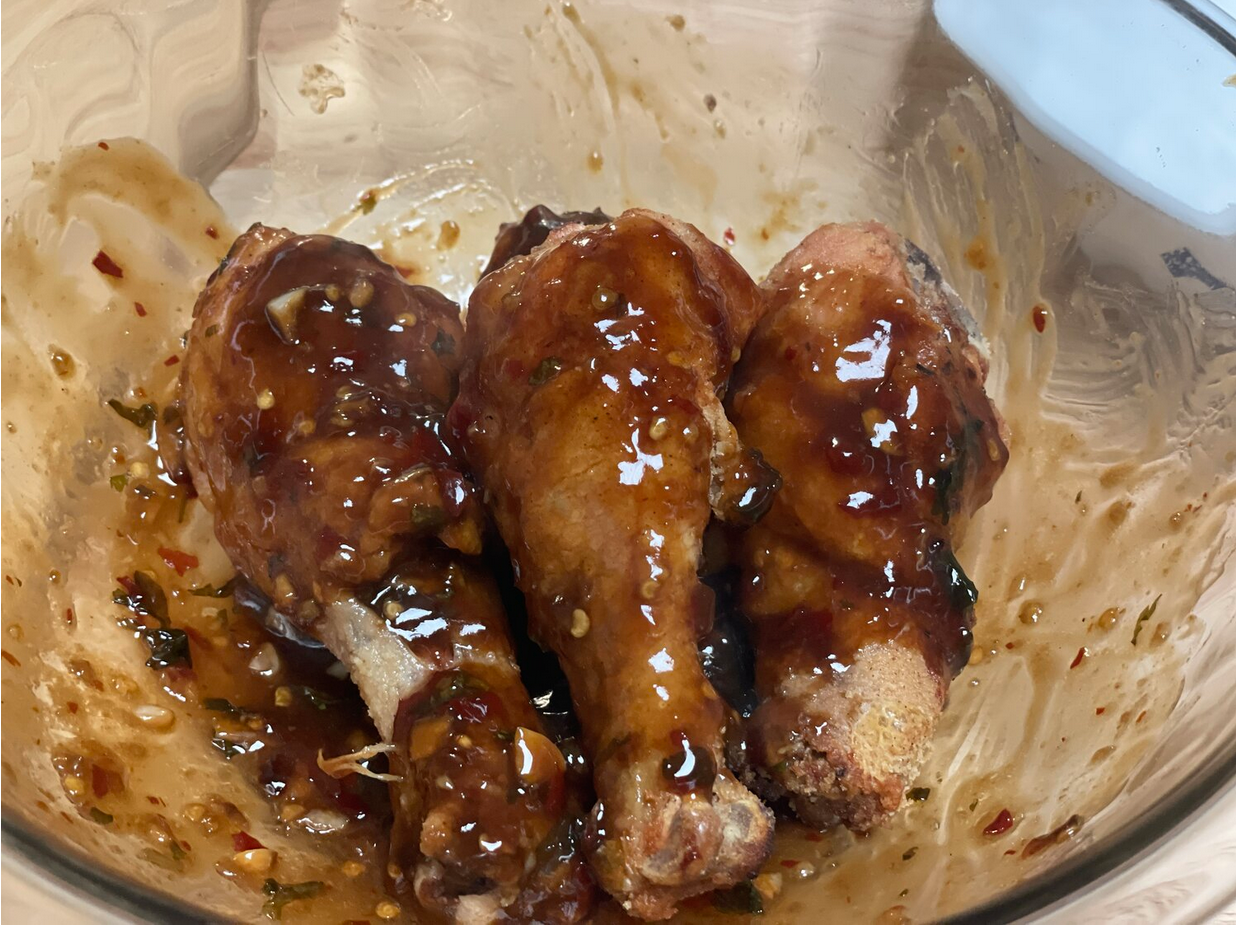
Chicken tossed in glass bowl.
Step 10. Once Chicken is fully cooked, take out of the oven and let it cool for about 5-10 minutes or until you are able to safely touch it. Grab a glass bowl or a bowl that won’t be affected by heat. Add your cooked chicken to it and spoon your desired amount of sauce in. Toss your chicken thoroughly. Transfer to a plate and add your optional toppings: I used chopped cilantro and sesame seeds.
Search Posts
-
Apparel and Printing
- Apr 20, 2022 How to Create Artwork for T-Shirts: A Guide for Artists Designing for Screen Print Apr 20, 2022
- Nov 2, 2020 From iPad to Shirt: Halloween Edition Ft. Goof Nov 2, 2020
-
Art Processes
- Apr 20, 2022 How to Create Artwork for T-Shirts: A Guide for Artists Designing for Screen Print Apr 20, 2022
- Nov 2, 2020 From iPad to Shirt: Halloween Edition Ft. Goof Nov 2, 2020
- Sep 2, 2020 Tech Talk: My Tools for Digital Artwork Sep 2, 2020
- Jun 29, 2020 The Process Behind the Label: Designing My First Beer Can Jun 29, 2020
- May 20, 2018 The Process of Designing Posters May 20, 2018
-
Product Reviews
- Sep 2, 2020 Tech Talk: My Tools for Digital Artwork Sep 2, 2020
-
Technology
- Apr 20, 2022 How to Create Artwork for T-Shirts: A Guide for Artists Designing for Screen Print Apr 20, 2022
- Sep 2, 2020 Tech Talk: My Tools for Digital Artwork Sep 2, 2020
What’s the best thing about summer? Tropical summer food! Make this delicious sea bass taco paired with mango habanero salsa. Gluten free with panko breading and corn tortillas.