
Gluten Free Cooking
Why are you finding gluten-free cooking recipes on a design website? Strange, I know. Well, designers gotta eat, too! As a freelance graphic designer who also owns an apparel-printing company, time is my most cherished treasure. I got diagnosed with celiac disease in 2020, which makes finding good food fast pretty much impossible. Celiac is an autoimmune disease that causes your body to attack itself when ingesting gluten. Gluten is in pretty much everything (at least in America), which means no more frozen dinners, no more fast food or restaurants, and no more quick hot meal pick ups at the grocery store deli. Thus, I’ve decided to post all of my recipes on here for anybody who is interested. Not everything on here will be quick or easy but it beats plain steamed veggies.


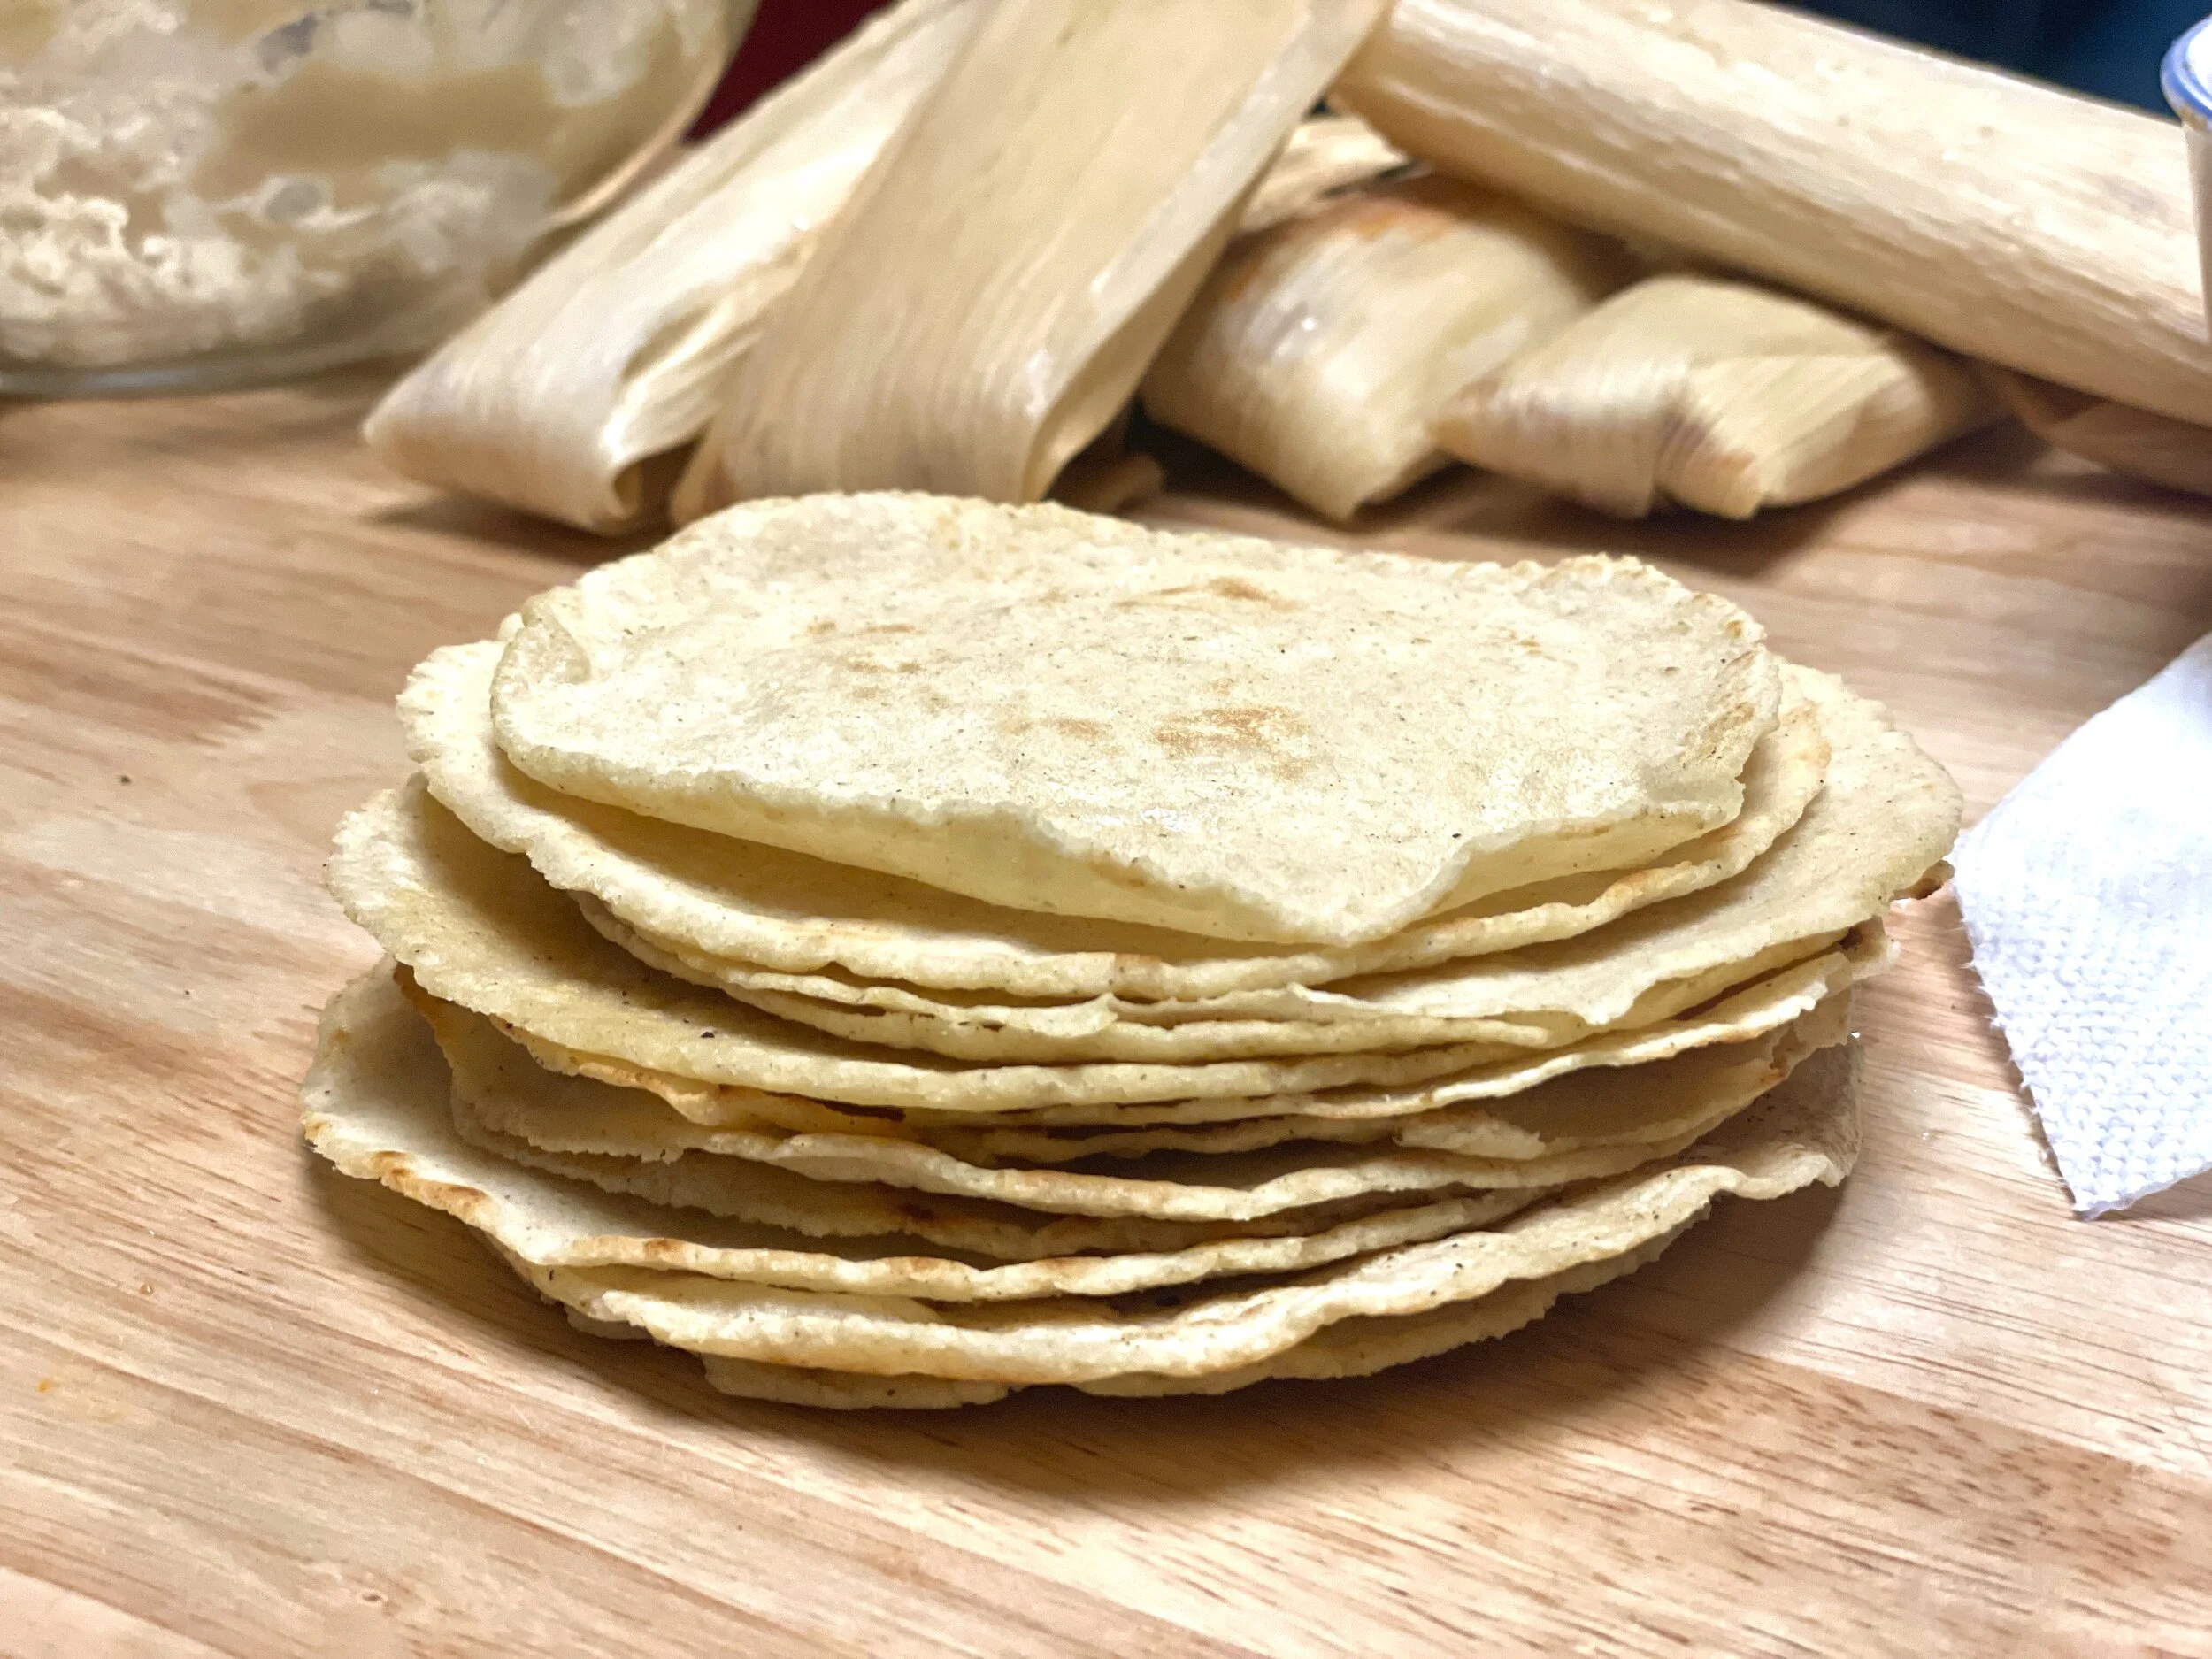


Ginger Honey Thyme Pork Chops
An easy honey thyme glaze to sizzle pork chops in. Gluten free and adds a nice caramelized golden brown to your chops. Pan seared and baked in the oven.
Prep Time: 20 minutes
Wait Time: 1-3 hours
Cook Time: 35 minutes
Yields: 5 Pork Chops
Ingredients:
4-5 Pork Chops
2 tbsp Ginger
3 tbsp Balsamic White Vinegar
4 tbsp Olive Oil plus drizzle for searing
2 tsp Kosher Salt or Rock Salt
2 whole cloves Garlic
Fresh Thyme
2 dried small Chili peppers
4 tbsp Honey
2 tsp Tamari Soy Sauce
Kosher Salt or Rock Salt to taste
Pepper to taste
Instructions:
Step 1. Take your pork chops out of the packaging. Rinse to get off that weird slime and pat dry with a paper towel.

Step 2. Place into a plastic bag. Add in 2 tbsp Ginger, 3 tbsp Balsamic White Vinegar, 3 tbsp Olive Oil, and salt. Place in fridge for 1-3 hours. The ginger, vinegar, and salt will tenderize your chops.


Step 3. While your pork is in the fridge, prepare the glaze. I use a mortar and pestal to really grind everything up. Crush and chop your 2 cloves of garlic into tiny slices, remove your thyme from the stems, and add in the two dried chilies. Grind the heck out of it all together. Once crushed, Add in 1 tbsp of Olive Oil, 2 tsp Tamari Soy Sauce, 4 tbsp Honey. Grind it all together until evenly mixed. Cover it and let it rest while you are waiting for your pork. Letting it rest is important because the chilies will become soft and the honey can become infused with the garlic and thyme.
Preheat your oven to 450° F.

Step 4. After your pork is done marinating, take it out of the fridge. Heat up a skillet or frying pan to medium high heat. Drizzle a drizzle (?) of Olive oil down and let it heat up. Take your pork chops out of the bag and let the excess juice drip off. Sear the chops on both sides until a nice golden brown appears.
Step 5. I used a cast iron skillet to sear so I decided to use the same skillet for my oven bake. If you are using a different pan, grab an oven safe small casserole dish or baking pan/tin. Arrange your seared chops so that they are not too covered up by one another so it evenly cooks. I do a pinwheel that I turn over half way through.


Step 6. Pour your glaze sauce over the chops. Place in the oven. Bake at 450°F for 15 minutes, then flip your chops over and bake for another 10 minutes. For the last 5 minutes, I hike up the oven to a 500°F broil. I broil it just enough to caramelize the glaze and add a nice crust to the chops. Use a meat thermometer and make sure your chops are at least 145°F. Let them rest for 3-5 minutes before removing from pan and plating.
The USDA recommends cooking chops, roasts, loins, and tenderloin to an internal temperature of 145° F, followed by a three-minute rest.
ENJOY. I paired it with roasted green beans and mashed potatoes.


Gluten Free Double Chocolate Butter Rum Cupcakes
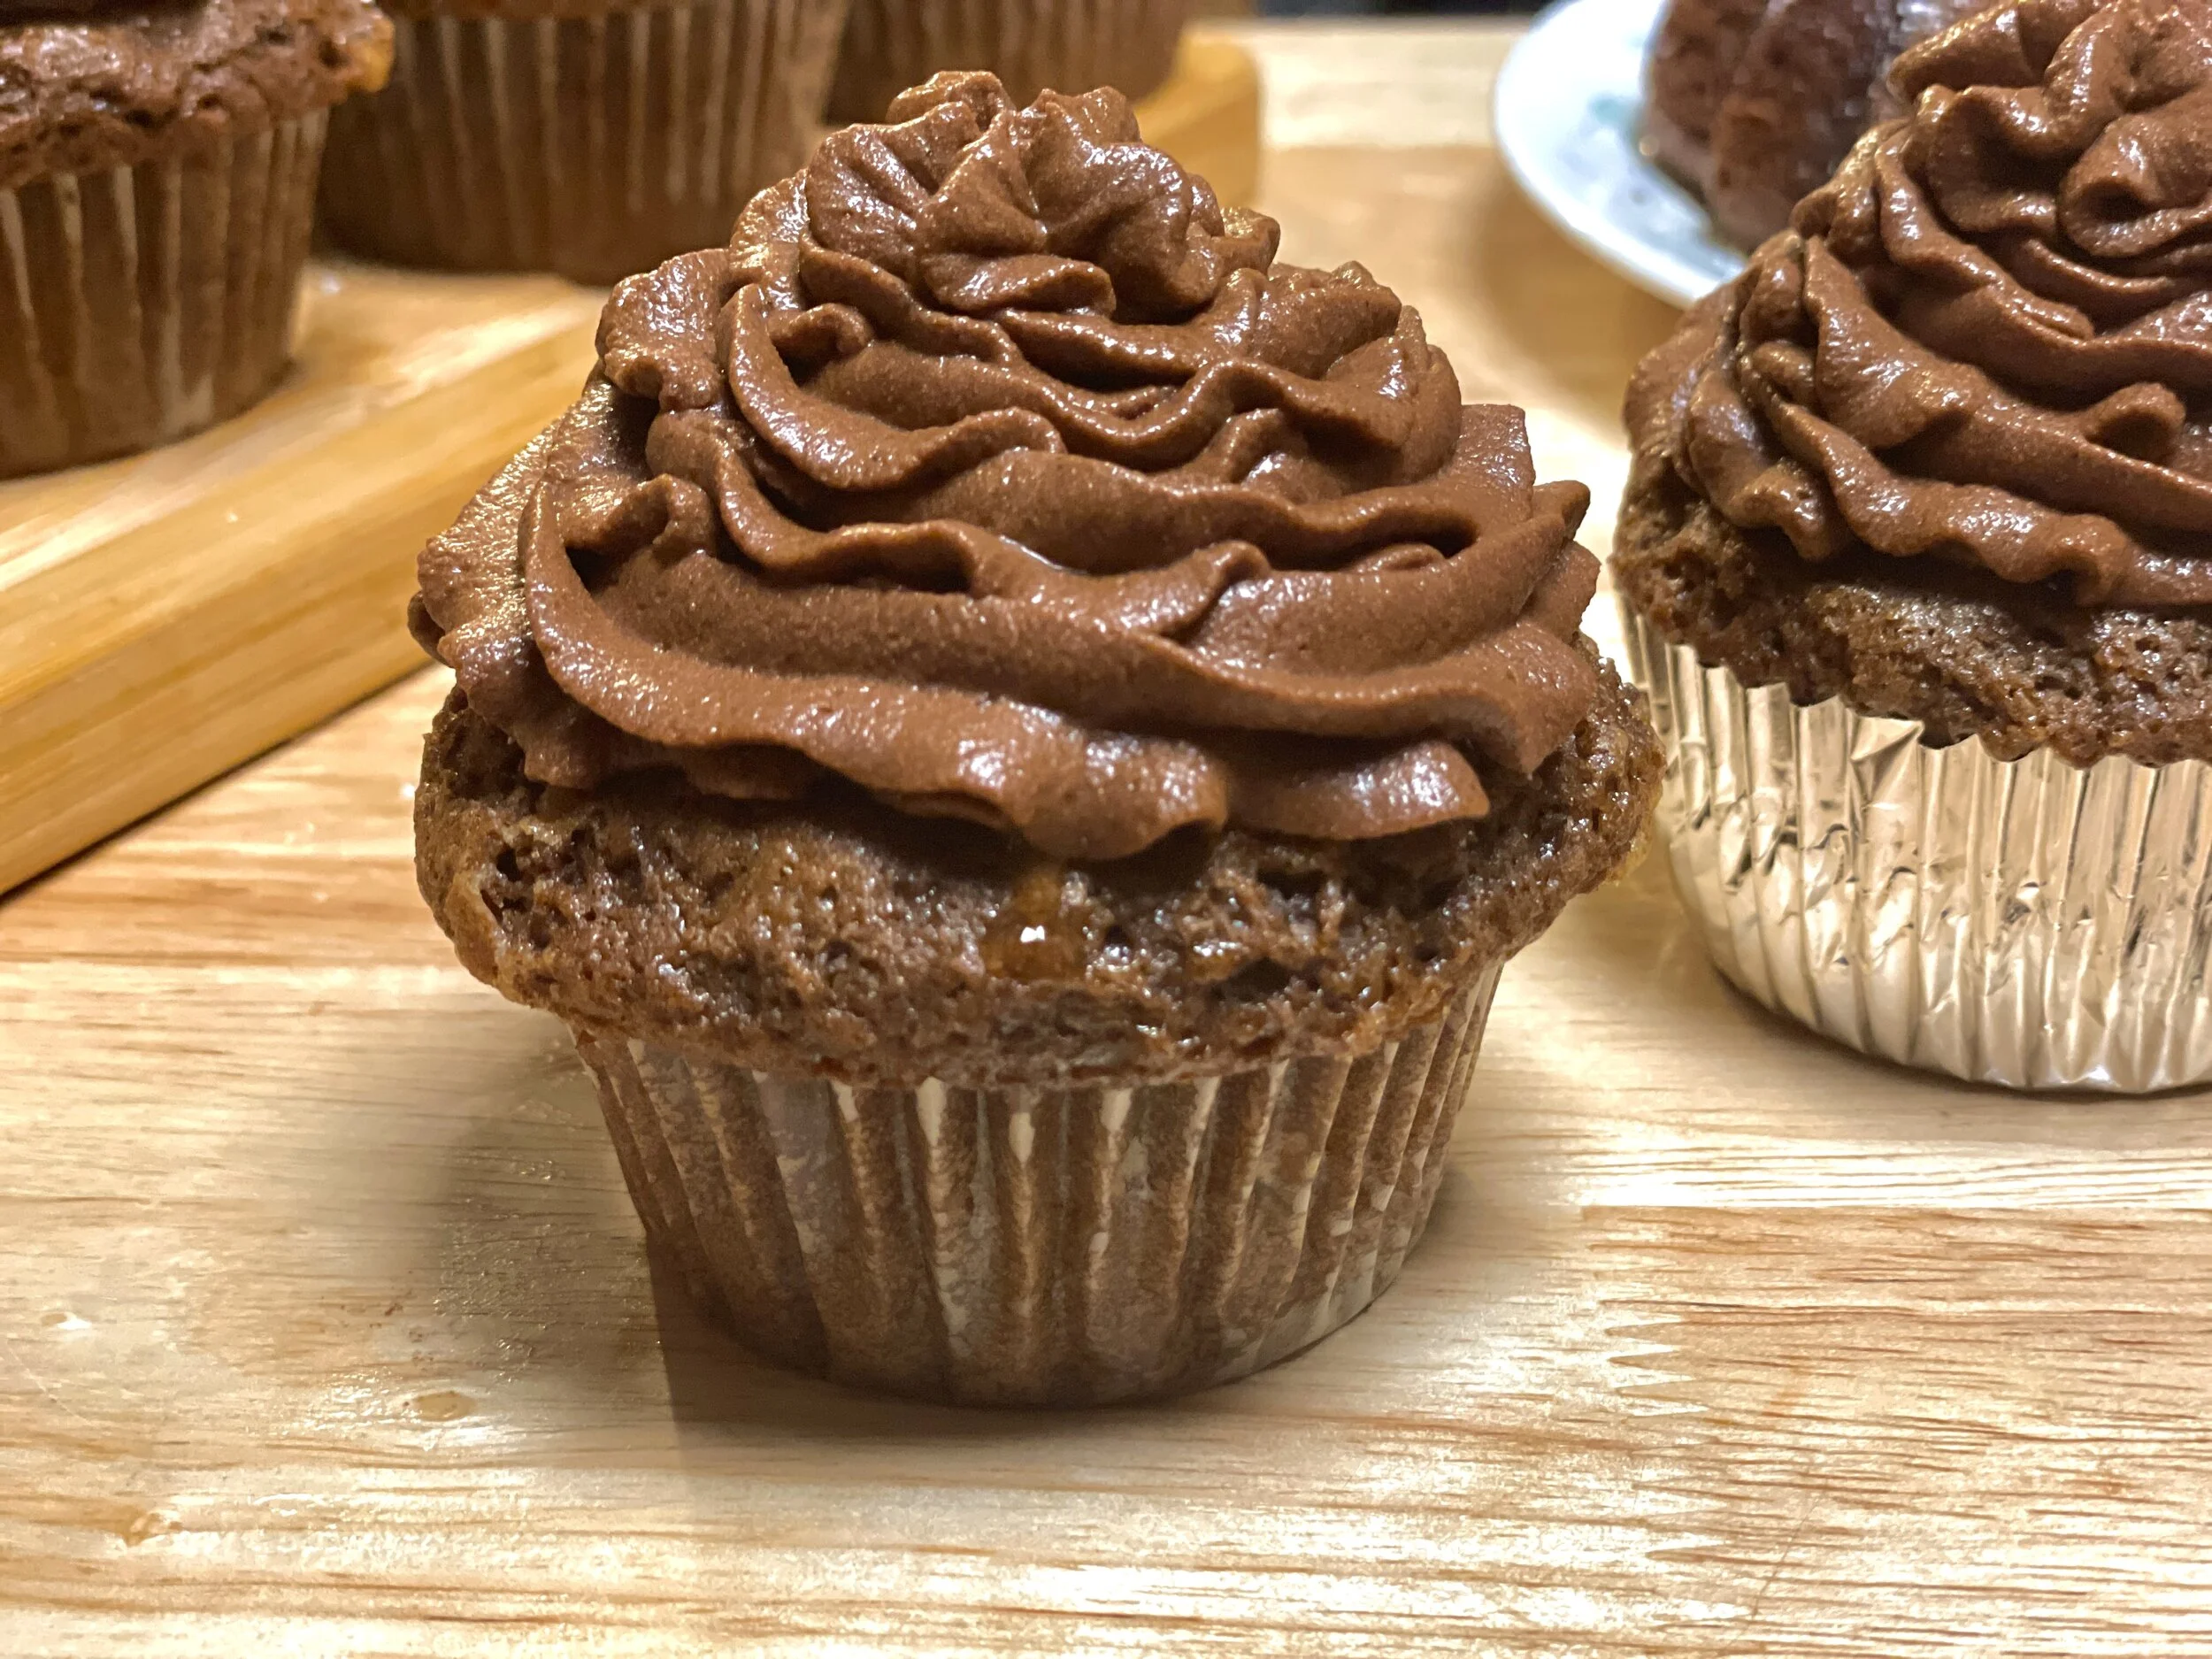
Gluten free double chocolate cupcakes with a butter rum sauce and fluffy chocolate top.
Prep Time: 25 minutes
Cook Time: 25 minutes
Yields: 24 cupcakes
Ingredients For the Cake:
3 cups Gluten free flour blend (All-Purpose Gluten Free bought or make your own blend. If using your own blend make sure it has Xanthan Gum in it. If not, add in 1 tbsp of Xanthan Gum. All gluten free flour blends act differently so beware of various results if using a different blend than below.)
1/4 cup cacao powder or cocoa powder
1 cup granulated cane sugar
1 cup brown sugar
1 tbsp baking powder
2 tsp baking soda
1 tsp kosher salt
4 eggs
2/3 cup vegetable oil of choice (olive, vegetable, corn, safflower, sunflower, avocado, coconut, etc.)
1/4 cup melted butter (half a stick)
1 tbsp apple cider vinegar
2 tsp Pure Vanilla (I used pure powdered vanilla bean
1 cup Milk (Full Fat Dairy milk or Oat Milk for Non-Dairy recommended)
My Gluten Free Flour Blend:
For this Recipe I used:
1 cup Rice flour
1 cup Tapioca Flour
1/2 cup Sorghum Flour
1/2 cup Potato starch
1 tbsp Xanthan Gum
Ingredients for the Frosting:
1 bar (4oz) of unsweetened Baker’s Chocolate
8 oz of heavy whipping cream
1/2 cup powdered cane sugar plus 2 tbsp powdered cane sugar
Ingredients for the Butter Rum:
1/4 cup butter (half a stick)
4 tbsp spiced rum
4 tbsp brown sugar
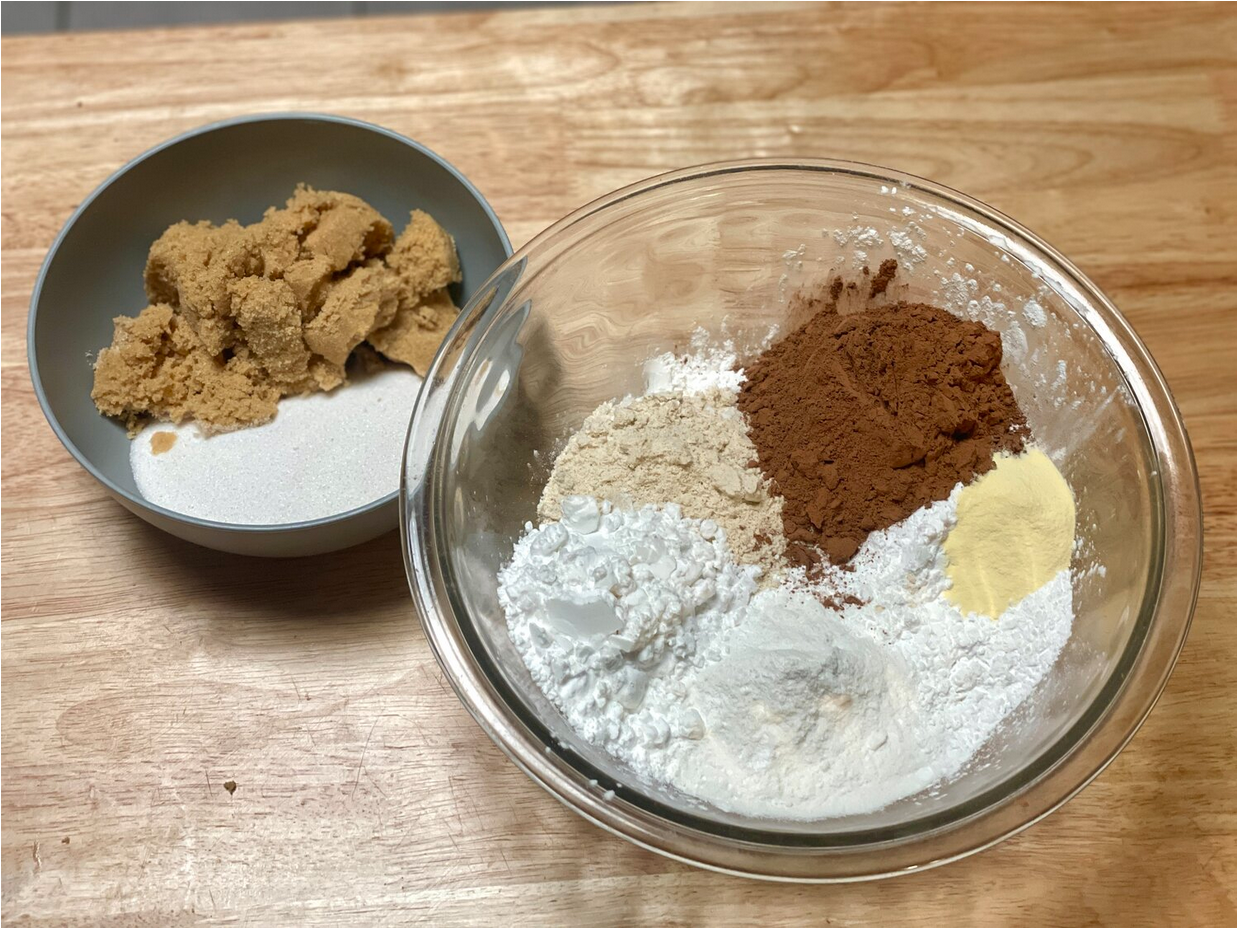
Step 1. Preheat your oven to 350°F / 176°C. In a mixing bowl, put together your flour blend, baking powder, baking soda, kosher salt, sugar, and if using powdered vanilla include that, too. If using liquid vanilla save that for your liquid ingredients. Whisk together until everything is nice and blended.
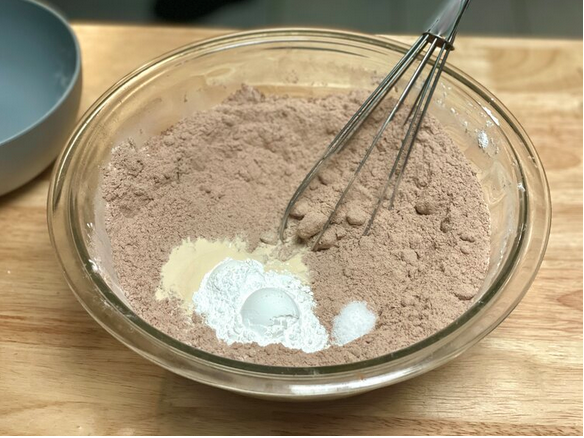
Step 2. Create a well in the middle of your dry ingredients. Break open four eggs and beat them in the well until scrambled. Melt 1/4 cup butter and allow to cool. Don’t place it in the bowl yet or it will be too hot and the eggs will do weird things.

Step 3. Add in your oil, milk, and apple cider vinegar. Start whisking batter together and gradually add in melted butter. Mix only until ingredients become one. (Over-mixing may cause cupcakes to sink!)


Step 4. Line a cup cake sheet with paper cups or spray non-stick cooking oil inside. I do both so the cupcake tops don’t stick if they rise too much. I didn’t feel like getting a second cupcake pan out so I made 12 cupcakes and half a bundt cake. (Sue me, whatever.)
Step 5. Place in oven in the middle rack and set a timer for 25 minutes. After timer goes off, check your cakes with a toothpick to make sure the toothpick comes out clean. If not, cook an extra 5 minutes.


Step 6. While your cakes are cooking, let’s prepare the chocolate frosting. This frosting recipe is very light and makes you want to eat it by itself out of the bowl. It made my boyfriend eat the frosting off the cupcake and then try to come back to get his cake “refrosted.” No. I saved it for myself.
Measure out exactly 4oz of heavy cream and 4 oz of Baker’s chocolate (or one standard bar.) The chocolate to cream ratio will be 1:1. Take a sharp knife and chop & shave your chocolate into little tiny bits. Add them to a glass bowl or a bowl that will handle hot liquid.

Step 7. Place your cream in a sauce pan over medium heat. Heat your cream just until the edges start to bubble. Do not let it get to a full boil or your cream will be too hot. Let it simmer with the edges bubbling for 3-5 minutes while occasionally stirring. Don’t let your cream boil or it will burn the chocolate.

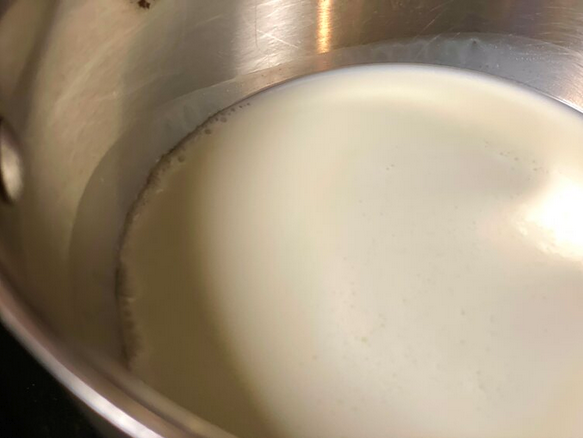
Step 8. Once cream is thoroughly warm, remove from heat and immediately pour over the chocolate in your bowl. Let it sit for about a minute and then gently start stirring.
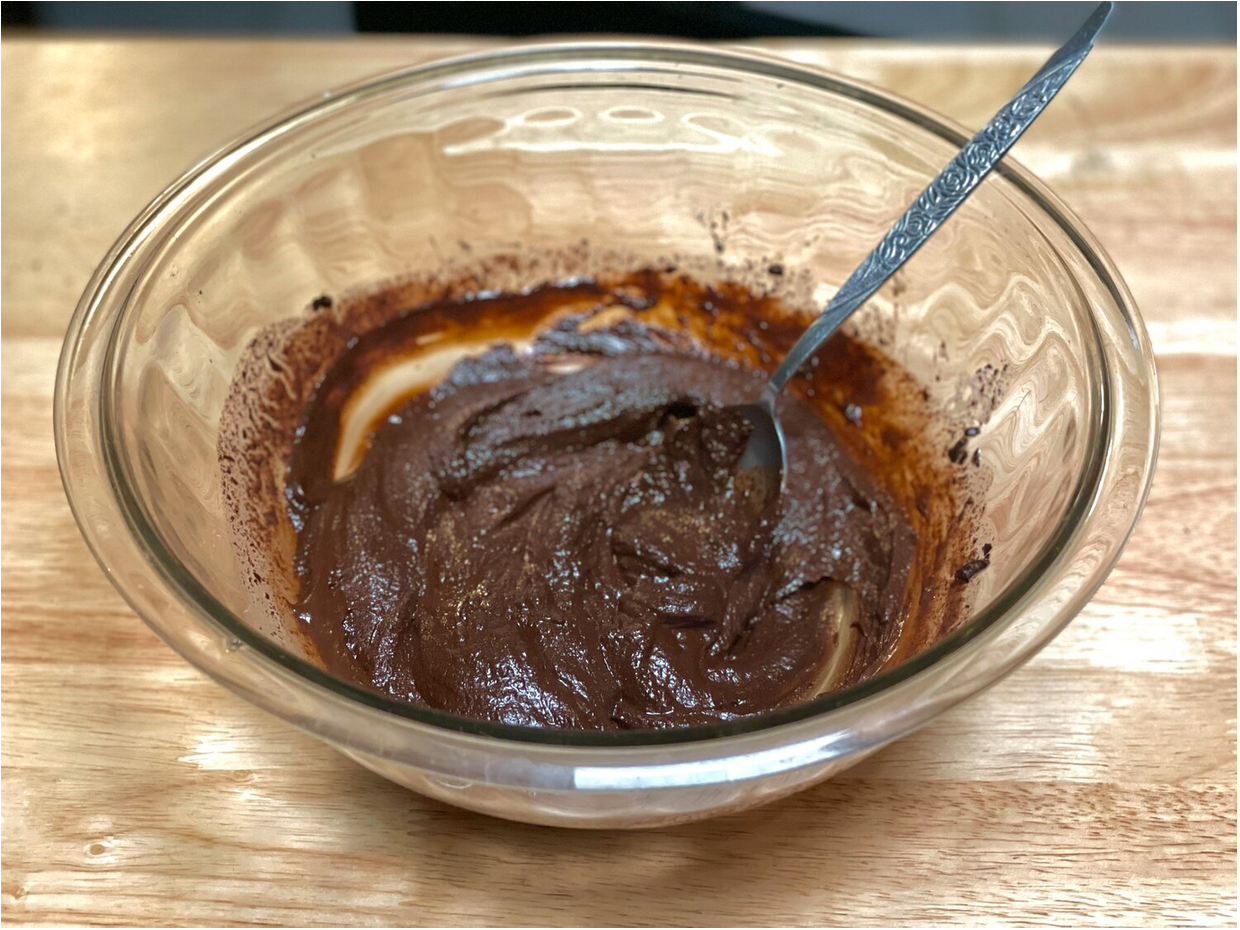
Step 9. Once the chocolate is well melted, add in 2 tbsp of powdered cane sugar and keep mixing.
Step 10. Add 4 oz of your remaining heavy cream into a mixing bowl and use your hand mixer to whip the crap out of it. Keep mixing until the cream starts forming wrinkles that stay by themselves. Once wrinkled, add in 1/2 cup of powdered sugar gradually while still mixing. If you’re impatient and want to dump the whole thing in, that’s cool, too. Just make sure you take a spoon and mix it in the cream for a second first before you continue to mix. The powder goes EVERYWHERE if you don’t. A friend told me that. I totally didn’t do that…

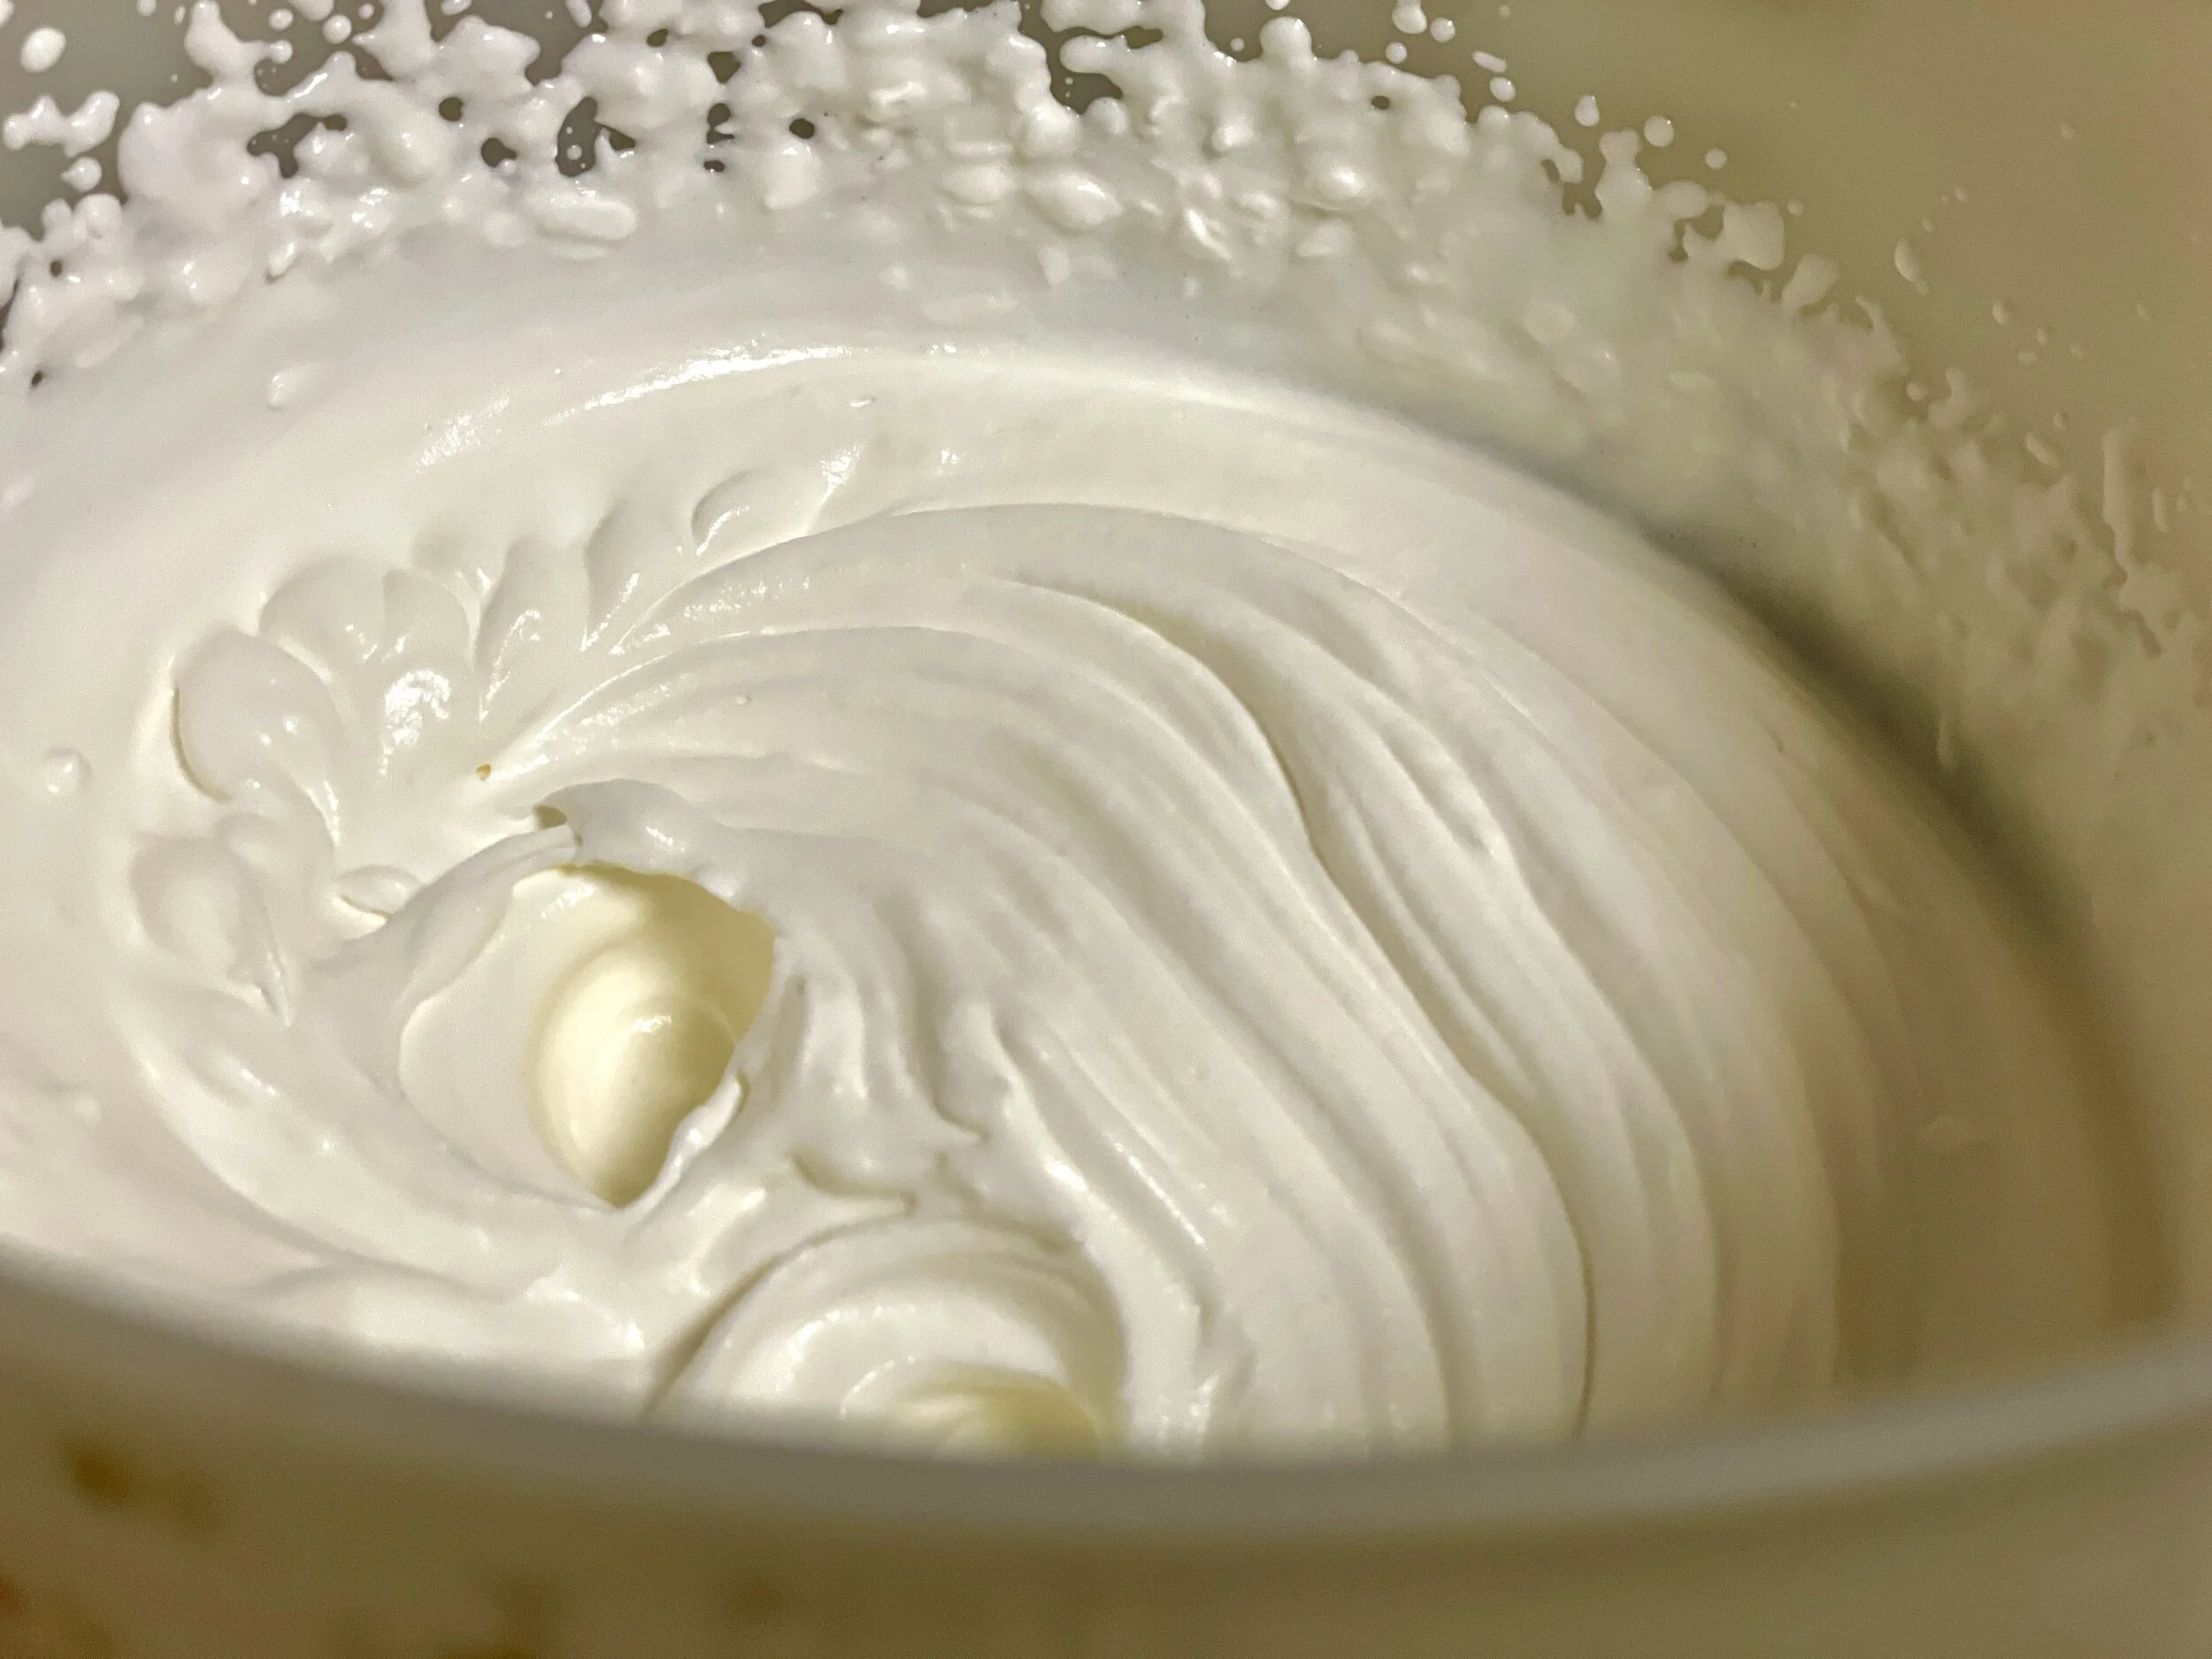

Step 11. Take your chocolate mixture and put it in your bowl of whipped cream. Mix again on high speed until the whipped cream and chocolate cream become one with the force. Place your cream in the fridge until you’re ready to use it.
Check on your cakes! Perform the toothpick test. If cooked, let the cakes cool completely. You can take a shishkabob stick now or tooth pick and poke very many holes in the cake.
Step 12. The butter rum sauce! Grab your sauce pan that you just washed from the chocolate 😉 and place over medium heat. Melt your 1/4 cup butter. Once melted add in 4 tbsp brown sugar and stir until dissolved. Add in 4 tbsp spiced rum and let simmer for 5-10 minutes on low heat until thick and syrupy.
Step 13. Pour your butter rum sauce over the tops of your cakes very slowly, allowing it to soak into the holes you poked. Then top off with the chocolate frosting fluff and eat them all right away.




Gluten Free Flour Blends
All flours act differently in different recipes based off the other ingredients as well. There’s hundreds of different combinations and they all have different purposes. Below are all of the blends I have used so far and what I have used them with that worked.
Flours are confusing. Almost anything can be made into a flour and they all have different purposes; some flours act like sponges soaking up everything in its vicinity whilst other flours are moisture rich already and don’t soak up much of anything. All flours act differently in different recipes based off the other ingredients as well. Like I said: confusing. There’s hundreds of different combinations and they all have different purposes. Below are all of the blends I have used so far and what I have used them with that worked.
If you are new to gluten free cooking, all of these different types of flours can be overwhelming. Finding all the ingredients separately for a decent price can be tough. I’ve found that Nuts.com has a great selection of gluten free flours that can be ordered by the pound.
I will continue to update this list as I experiment with more flours. Specific recipes may have a different blend used depending on what works out with my other ingredients.
My gluten free flour blend for BREADS consists of:
1-1/2 cup Rice Flour
1/2 cup Tapioca Flour
1/2 cup Millet flour
1/2 cup Sorghum flour
1/2 cup Potato Starch
1/8 cup Flax seed Meal
3 tsp Xanthan Gum
Good for yeast based breads, loaves, buns, and rolls.
YIELDS: 3 -1/2 CUPS.
My gluten free flour blend for BAKING consists of:
1/2 cup Oat Flour
1/2 cup Potato Flour (different from potato starch)
1/2 cup Rice Flour
1/2 cup Sorghum Flour
1/2 cup Tapioca Flour
1/2 cup Potato Starch
2 tsp Xanthan Gum
Good for cupcakes and cake.
YIELDS: 3 CUPS.
My gluten free flour blend for PANCAKES, WAFFLES, QUICKBREADS consists of:
2 cups Rice Flour
1/2 cup Tapioca Flour
1/2 cup Potato Starch
1/4 cup Gluten Free rolled oats (optional, adds in texture)
2 tsp Xanthan Gum
YIELDS: 3 CUPS.
Gluten-Free Flours:
Buckwheat Flour
Best in dense breads, heavy cakes, and noodles.
Not recommended using 100% by itself. Blend with less absorbent flours.
Nutty in flavor
ABSORBENT. Recipe might require more liquid.
Rice Flour
Comes in white rice or brown rice.
Course texture. Recommended to add with oats for pliable doughs.
Does okay by itself for certain recipes or for coating.
Best in sponge cakes, noodles, coating batters.
ABSORBENT. Recipe might require more liquid.
Oat Flour
Made from ground oats. Fluffier than other flours.
Best in breads.
ABSORBENT. Recipe might require more liquid.
Nut Flours
Almond flour, Peanut Flour, Hazelnut, Cashew, Pistachio…to name a few.
Not best in kneaded breads, but good for quick breads.
NOT ABSORBENT. Not as absorbent as other flours. Mix with absorbent flours for best results.
Tapioca Flour
Best for baked goods and quick breads
Excellent as a sauce thickener, becomes a clear, glossy, gel.
Neutral taste. Very chewy.
ABSORBENT. Recipe might require more liquid.
Millet Flour
A good substitute for wheat flours but is very crumbly
NOT ABSORBENT. Not the best at absorbing liquid. By itself becomes very crumbly. Mix with absorbent flours for best results.
Sorghum Flour
Made from a millet-like grain, very popular in America. It is America’s third leading cereal crop.
Very nutritious.
Good in baking, best in breads, cakes, cookies.
Similar Absorbency to wheat flour, okay by itself but blends are always better.
Potato Flour
Made from 100% dehydrated potatoes.
Best in smooth sauces, gravies, and soup.
Keeps the moisture in baked goods.
Downside: tastes like potatoes.
Cassava Flour
The closest flour to wheat flour
Does okay by itself
Very dense and starchy
Has similar Absorbency to Wheat flour
Neutral taste
Search Posts
-
Apparel and Printing
- Apr 20, 2022 How to Create Artwork for T-Shirts: A Guide for Artists Designing for Screen Print Apr 20, 2022
- Nov 2, 2020 From iPad to Shirt: Halloween Edition Ft. Goof Nov 2, 2020
-
Art Processes
- Apr 20, 2022 How to Create Artwork for T-Shirts: A Guide for Artists Designing for Screen Print Apr 20, 2022
- Nov 2, 2020 From iPad to Shirt: Halloween Edition Ft. Goof Nov 2, 2020
- Sep 2, 2020 Tech Talk: My Tools for Digital Artwork Sep 2, 2020
- Jun 29, 2020 The Process Behind the Label: Designing My First Beer Can Jun 29, 2020
- May 20, 2018 The Process of Designing Posters May 20, 2018
-
Product Reviews
- Sep 2, 2020 Tech Talk: My Tools for Digital Artwork Sep 2, 2020
-
Technology
- Apr 20, 2022 How to Create Artwork for T-Shirts: A Guide for Artists Designing for Screen Print Apr 20, 2022
- Sep 2, 2020 Tech Talk: My Tools for Digital Artwork Sep 2, 2020
What’s the best thing about summer? Tropical summer food! Make this delicious sea bass taco paired with mango habanero salsa. Gluten free with panko breading and corn tortillas.